Recently, I went to a juicery for the first time. I enjoyed the diverse mixes of fruit and veggies and felt the need to get another mixed juice. I then took a look at the price of the juice and asked myself: What if I just did this at home to save myself some money? Fast forward a week, and I purchased this lovely little tool.

Before I begin, there are many reasons why juicing was an appealing method to amd why a juicer was a wonderful investment. The first part is that without extra sugars and preservatives, it is lower in calories, and I can enjoy it guilt free compared to regular store bought fruit juice. Keeping in mind this juice typically should be consumed in 24-48 hours due to the lack of said preservatives. Additionally, this helps more of the nutrients from the fruits and vegetables get into your system more easily than the body needs. During the summer months, this is a refreshing way to keep hydrated . Also, there are good natural additives one can use, such as cinnamon and tumeric, for aid in weight loss and better digestion. And lastly, it’s just fun coming up with different flavors and mixes.
I then began reading up on different juicing combinations and ideas and decided to give it a give it a try. My first juice was an apple, pineapple, and strawberry juice mixed with a little bit of cinnamon for the extra kick.
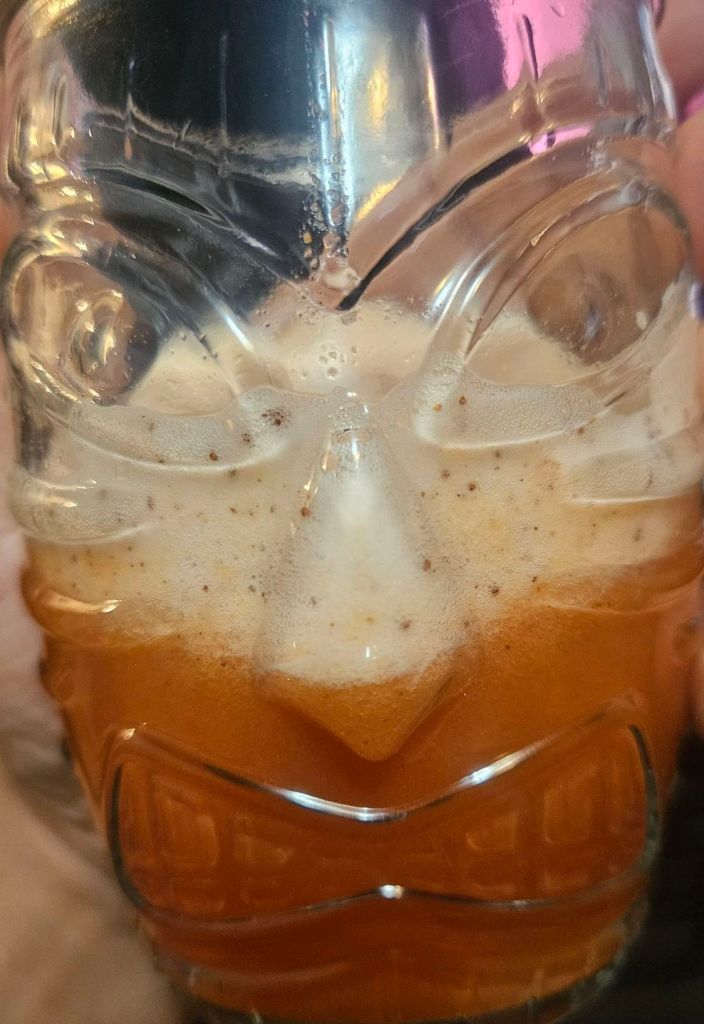
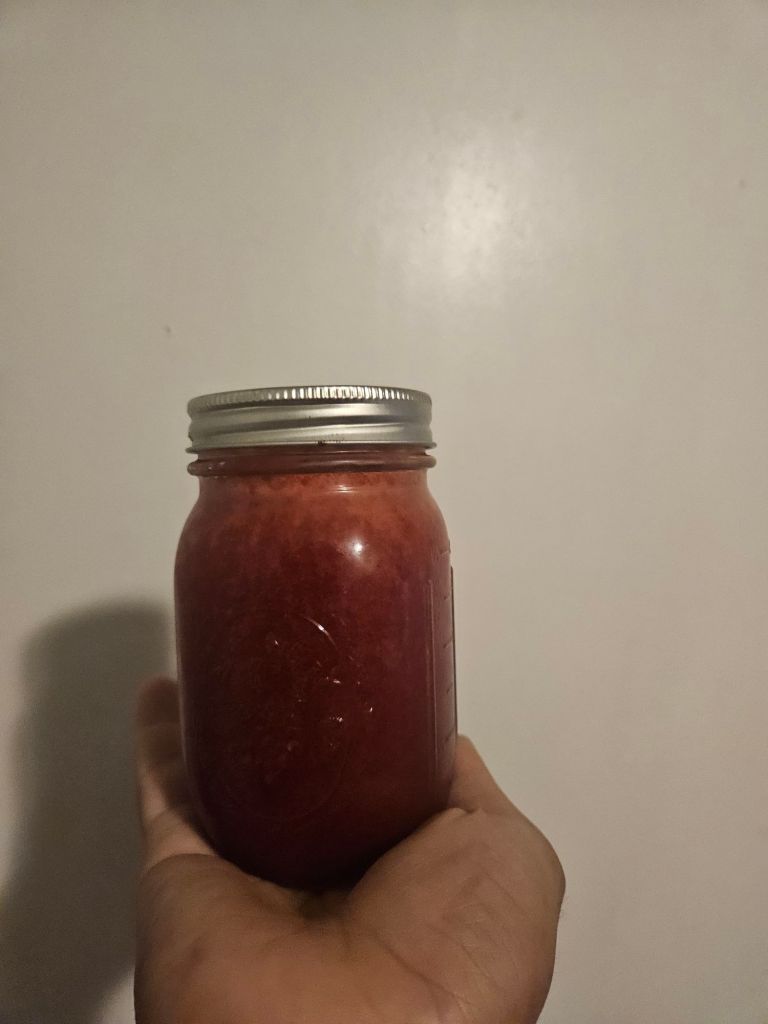
I then got to brainstorming and looking for inspiration for the next juice. That’s when things got a little…..wild. Early on a Sunday morning, I felt the creative urge to whip something up, and I had the great idea to make another juice. But this time, there was a twist. The first juice was a pineapple, cherry, strawberry juice with cinnamon.
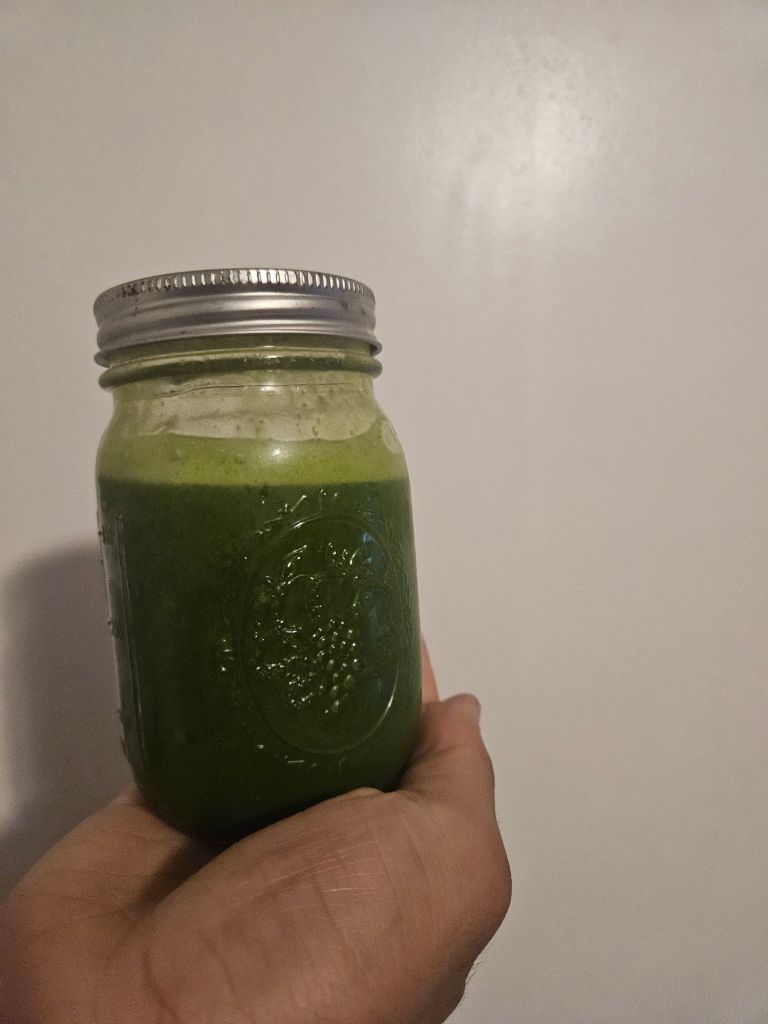
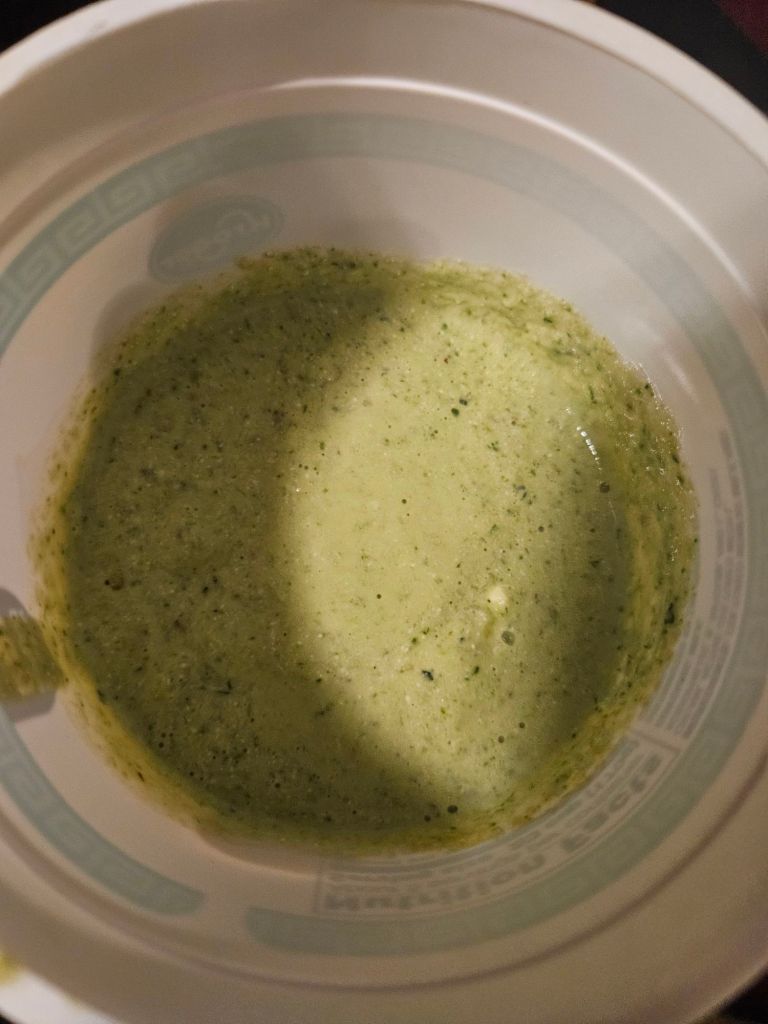
Next, I decided to try vegetables, so I made a green juice with green apple, spinach, cucumber, lemon, and tumeric.
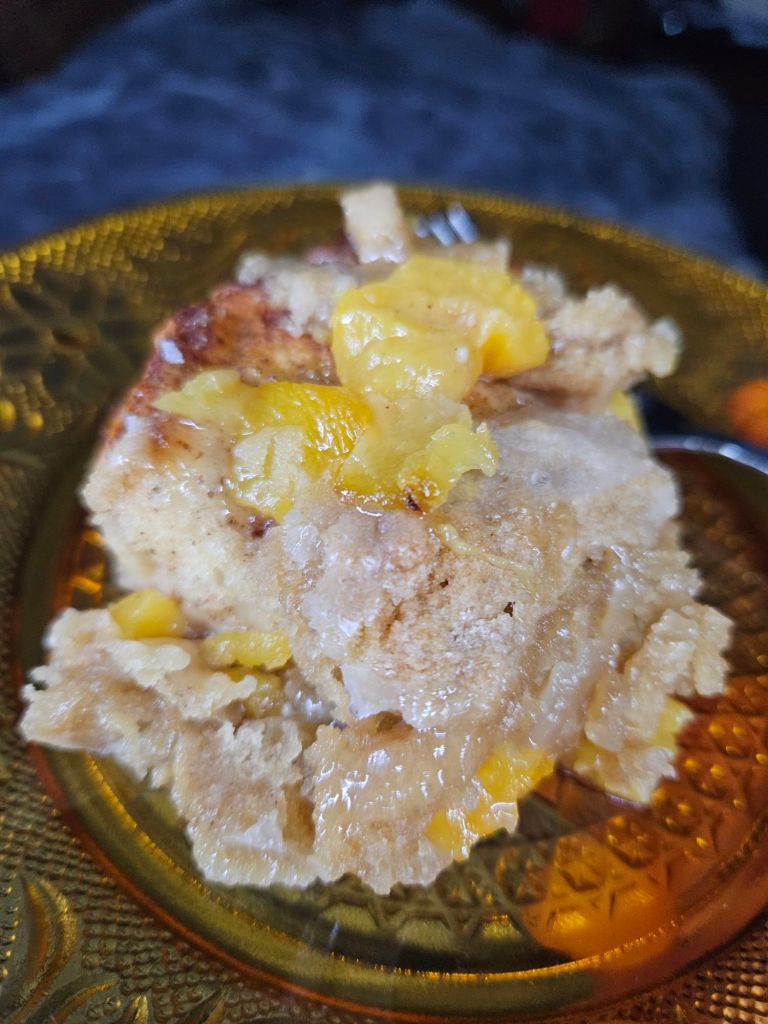
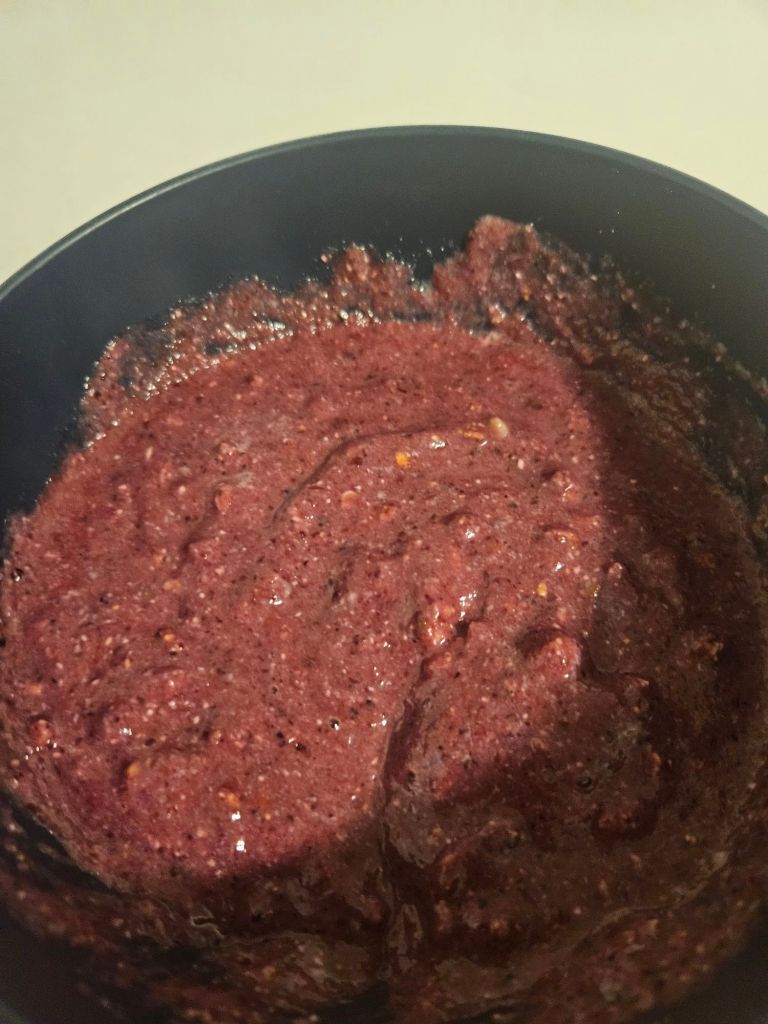
Once I finished juicing , I realized I had pulp left over. Then my wheels began to turning and I went to the net for different ideas on how to use the pulp. My first creation was adding a little extra frozen fruit to make a smoothie bowl
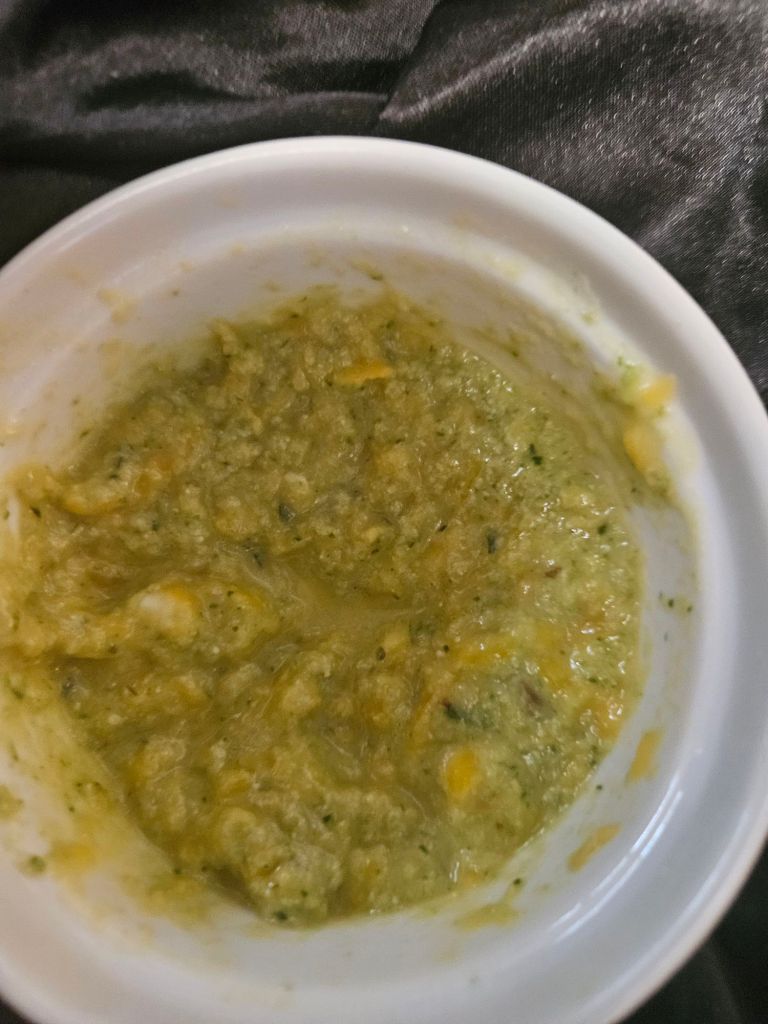
Once I devoured my smoothie bowl, I wondered what I could do with the veggie pulp. Then, after some digging, I decided to make it into a dip akin to a spinach artichoke dip. A little cottage cheese as a base (and extra protein to boot) and a little cheddar cheese really brought this together.
There are many benefits to juicing. This was a wondeful experience for my first few times trying it, and I look forward to trying more combinations in the future. This would be a wonderful tool for anyone’s kitchen and the possibilities for not just juicing but also what can be done with the pulp alone are numerous. Until the next time, dear readers, excelsior!