Mike Mentzers high intensity training

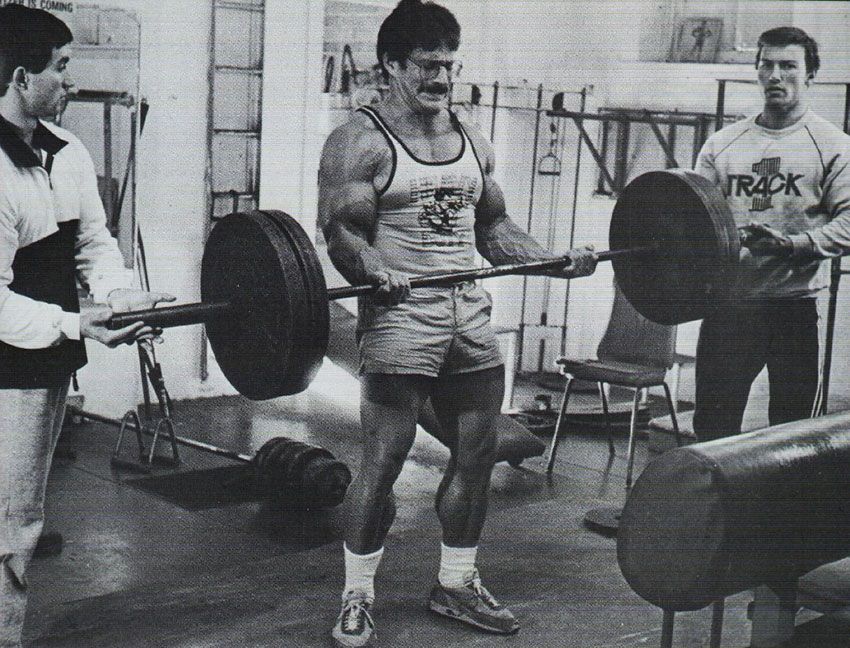
As someone who enjoys working out, there are many different training methods. From calisthenics, crossfire, power lifting and the lost goes on. I have used various training methods to get stronger and in recent weeks I discovered the methods of one Mike Mentzer. Mentzer was a champion body builder and coached many clients over the years in terms of high intensity training. I thought his approach to strength training was intriguing so I took on his training method for a few weeks to see how it would feel to train like his clientele.


This training split involved several rest days between sessions (Mike’s clients had 96 hours between sessions to emphasize recovery) and didn’t take too many hours in the gym to complete a session. Usually, it can take upwards towards 30 minutes to compete these workouts. There was a lot of superset work to really blast the muscles to failure with weight that will challenge the muscles. High intensity, low volume, and good recovery are the name of the game here.  Here are the exercises that I did using his training method. :

Day one- chest and back
1-2 Set chest fly 6-10 reps
1 Set smith machine bench press medium grip (incline preferred) 6-10 reps
1 Set with straight bar lat pull down  6-10 reps
1 Set  lat pull down with a closed grip 6-10 reps
1 Set deadlift 6-10 reps

Rest 48- 96 hours

Day two- legs and abs
1 Set leg extensions 12-20 reps
1 Set leg press or barbell back squats 6-10 reps
1 Set leg curls 6 -10 reps
1 Set calf raises 6-10 reps
1 Set decline weighted sit ups 12-20 reps

Rest 48 -96 hours

Day three-arms and shoulders
1 Set machine/dumbbell lateral raise 6-10 reps
1 Set reverse peck deck/rear dumbbell raise 6-10 reps
1 Set barbell curl (straight bar) 6-10 reps
1 Set cable triceps pull down 6-10 reps
1 Set triceps press down 6-10 reps

Now I myself felt that one set at a challenging weight was good, but then I wondered if I could go beyond that. For these exercises, I modified the sets to 2 sets with up to 10-15 reps. This combined with ab work and a 15-minute cardio session were very satisfactory for my workout. Overall, I spent less than my normal time in the gym with the feeling that I went even longer, and that was an excellent feeling. Overall, this was an excellent regimen to try, which I would recommend for anyone to test out, and it does not feel like a chore. The extra rest times were good as I felt much stronger the next time I I hit the gym. Until the next time, dear readers excelsior!

How to use a check

In this age of modern technology the process of carrying a card is commonplace. We are moving away from the days of carrying cash and using checks. In light of this transition, i have elected to share with you the proper way to utilize a check. This would be review to some but for others this will be a new topic for you. The goal behind this is to keep you informed on how to use some of the older financial transactions in the wake of this shifting dynamic in personal finance. Just in case any of our newer methods fail us you’ll know how to use a check if necessary.

How to use a check

example


  1. Date line: date goes here
  2. Name of the writer of the check aka the payee line
  3. Numerical value of the amount of the check aka courtesy box
  4. The hand written amount of the check aka the legal line
  5. Signature line: signature of the payee goes here
  6. Memo line: optional note (what the check is fore i.e. groceries, reimbursement etc.)


Using the check

You can make use of a check by signing the back of it aka endorsing the check

You have several types of endorsements

For deposit only- restrictive

The name of the payee- blank

Pay to the order of – special endorsement


Dos and don’ts

Do make sure that the legal line and the courtesy box amounts match (a check wrote for $100 on the courtesy box must match the legal line amount. If a check is wrote for $10 on the legal line but in the courtesy box it looks wrote for $100 it must be taken for the LEGAL LINE amount of $10


Do sign your check at the place you intend to deposit or cash because if you lose it another person can endorse their name under yours and use the check (unless it is a special endorsement where it has to be pay to the order of a specific person)


Don’t write in different types/color of pen on the face of the check. That will alter the check and can cause the check to be refused

Do not write a check for “cash” if it is lost it can be used to be cashed by anyone

Make sure you have a signature under the signature line from the person writing the check otherwise it will not be utilized

Do not leave your checks out in the open because they have your account and routing number info there. Keep them in a safe place for storage.

Keep in mind that a check can be placed on hold if deposited or cashed depending on the institution or if put into an ATM

Do keep a consistent signature on your checks because signature fraud happens

Do get duplicate style checks; the carbon copy underneath the check will make balancing your check book easier

Do make sure you don’t damage your check in any way especially near the numbers at the bottom of the check because it will make using it harder

Do always write a check with a pen so no one can alter it

Do not leave your checks blank (not filling out a payee line) because it increases the risk of fraud with the check

Do make sure to balance your checkbook regularly to avoid discrepancies and running the risk of bouncing a check


With this you know have the basics of how to use a personal check. Stay tuned for other tips and tricks on navigating the fun world of personal finance


Photocredit: the balance.com