5 simplest recipes are the best. This time, I tried my hand at a dish I tried a while back that absolutely blew my mind. I also added my own twist on this recipe to make it even more macro friendly with some liberties I took with a few substitutions and additions as I went along.
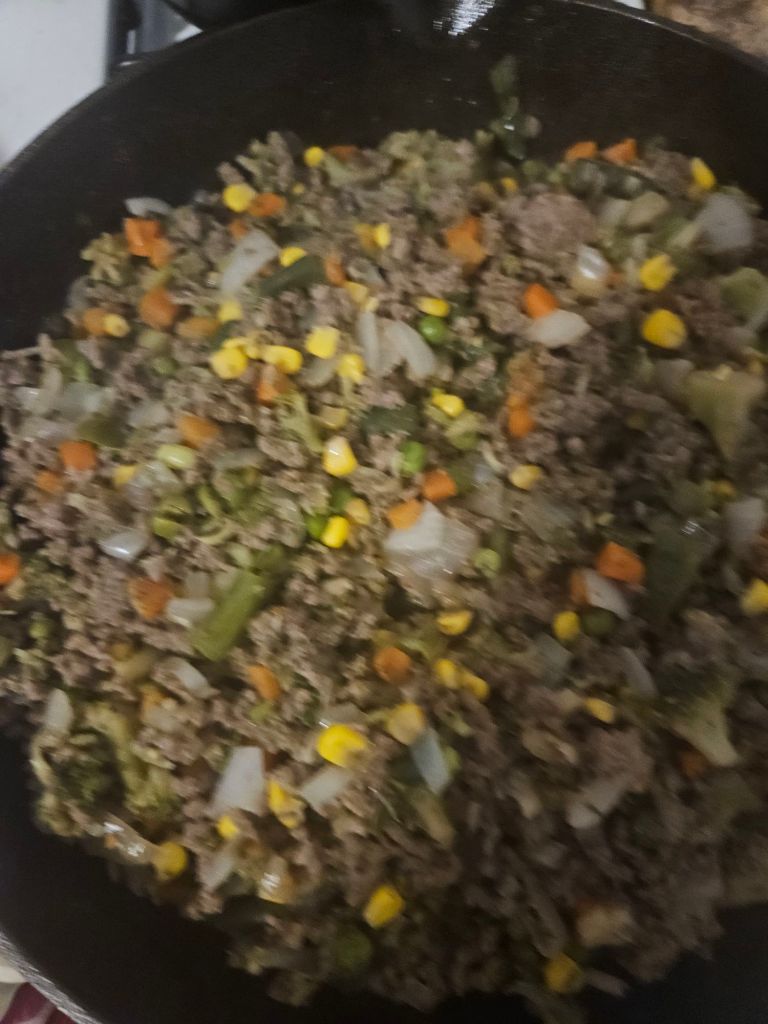
For this recipe variant I used the following: 3 large peeled and quartered potatoes, 1 stick of butter (salted /unsalted), 1 medium onion chopped, 1 to 2 cups mixed vegetables, 1/2 cup broccoli chopped, 1 1/2 pounds ground beef (i utilized 93% lean 7% fat in this instance), 1 teaspoon of Worcester sauce (Alternatively A1 steak sauce works surprisingly well as a substitute), 1/2 cup of beef broth (alternately i used beef bone broth) , and any seasonings of your choice.

First peel the potatoes and place them into a pot to boil until fork tender for about 20 minutes
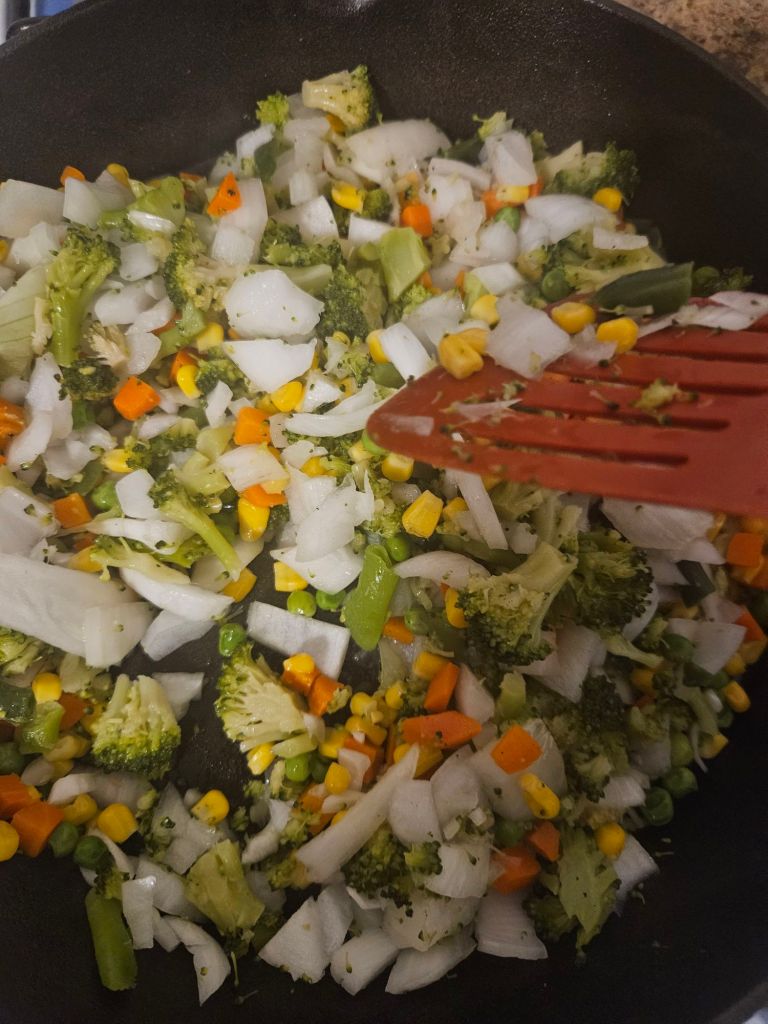
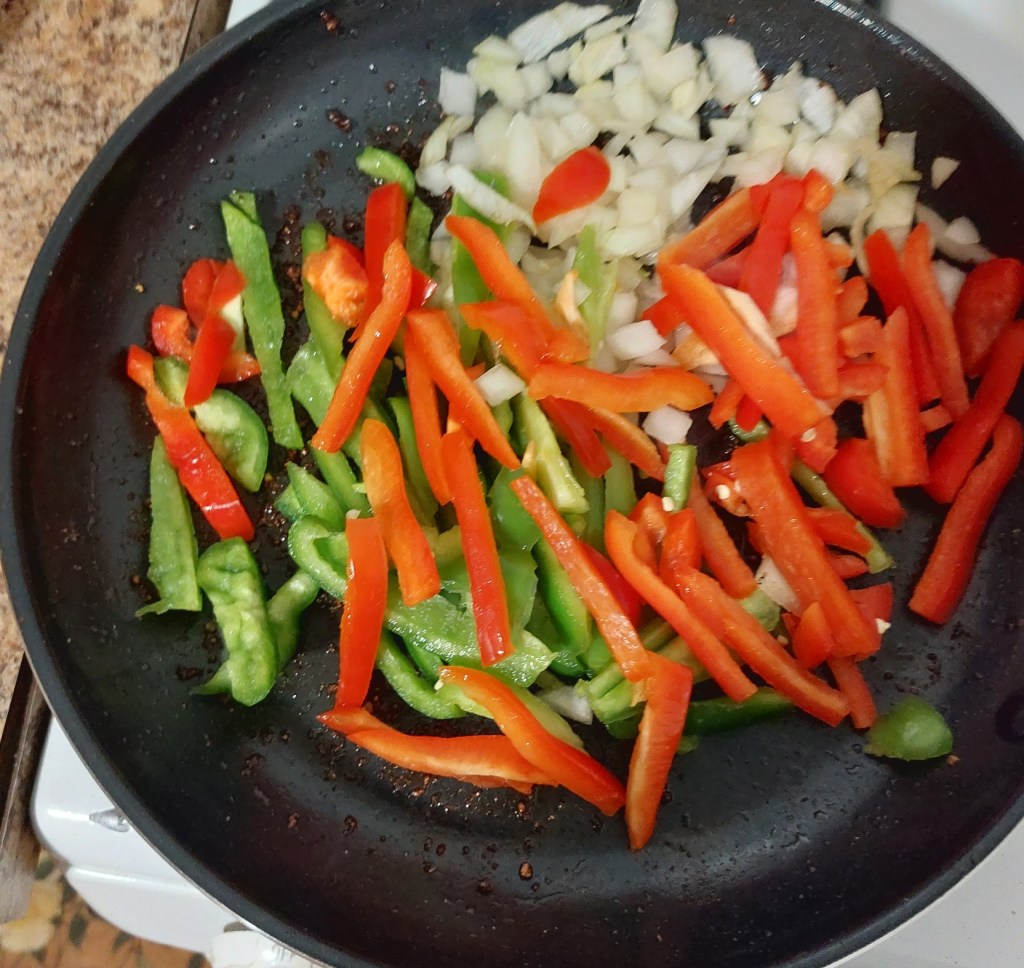
While the potatoes cook sautee all the vegetables together until tender in a skillet over medium heat.

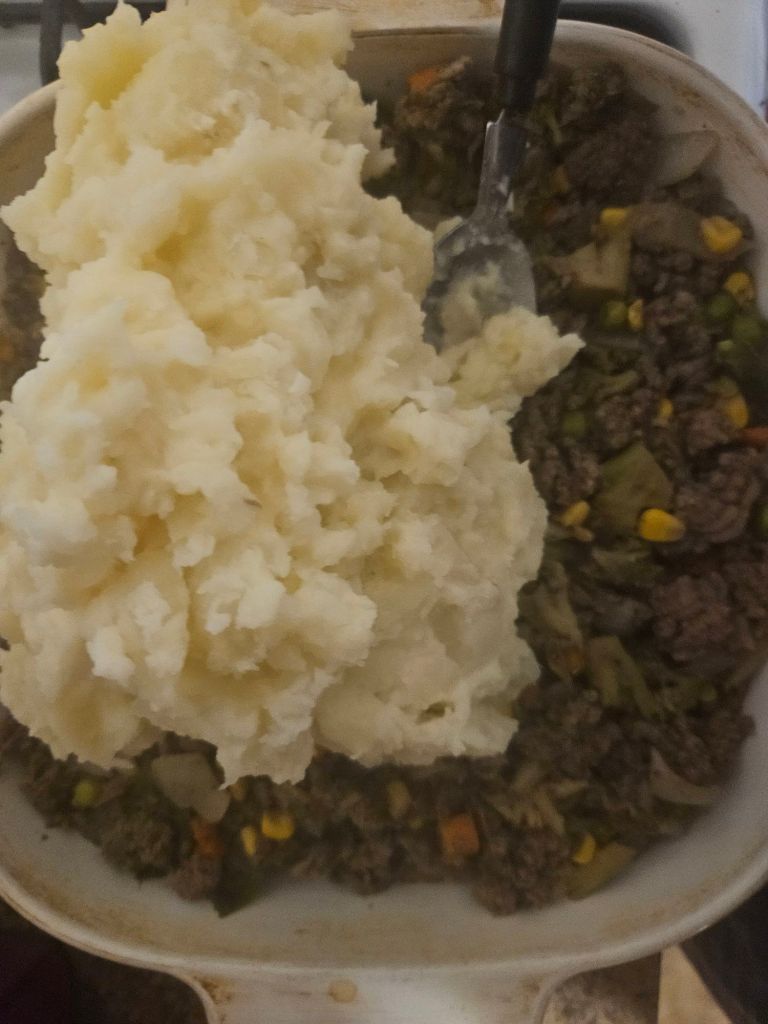
Once the potatoes are done, cut up the potatoes and add the butter and sprinkle with garlic powder (optional) and mash until it is all the way mashed up.

After mashing the potatoes, put the meat into an oven safe container and spread the potatoes over the tip and spread it out, and score with a fork if desired.
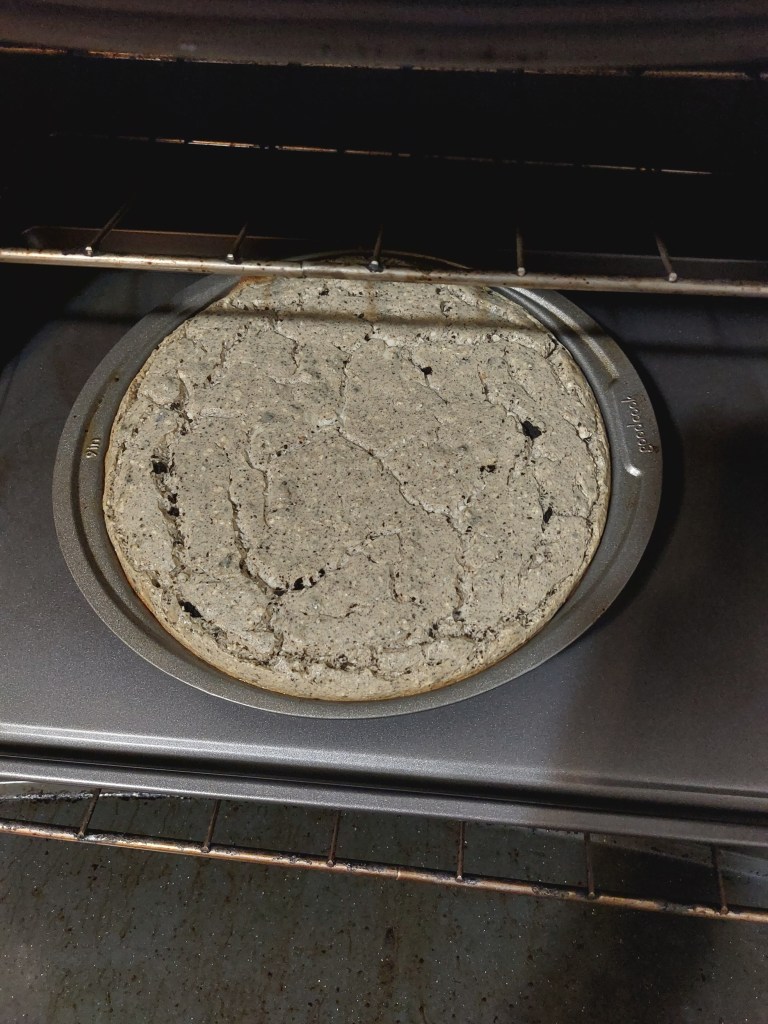
After scoring the potatoes place in a preheated oven at 400 degrees for 30 minutes until browned.

Once out of the oven feel free ro garnish with an optional green onion garnish and serve and enjoy.

This dish was so good I made it twice in the same two weeks. It makes for an excellent prepped meal through the week and a great comfort meal. The addition of bone broth and the broccoli in this version adds some extra macros to the mix. Until the next time dear readers, excelsior!