As somwone with an active lifestyle, it’s important to keep a healthy snack nearby. I recently had a rough experience that made me want to make my own bars. These bars are delicious, low cost per bar and packed with macro friendly protein and are a nice beginner friendly no bake recipe to boot!
For this recipe you will need the following:
1/2 cup maple syrup (i used sugar free to cut down on sugar content)
1 1/2 cup protein powder
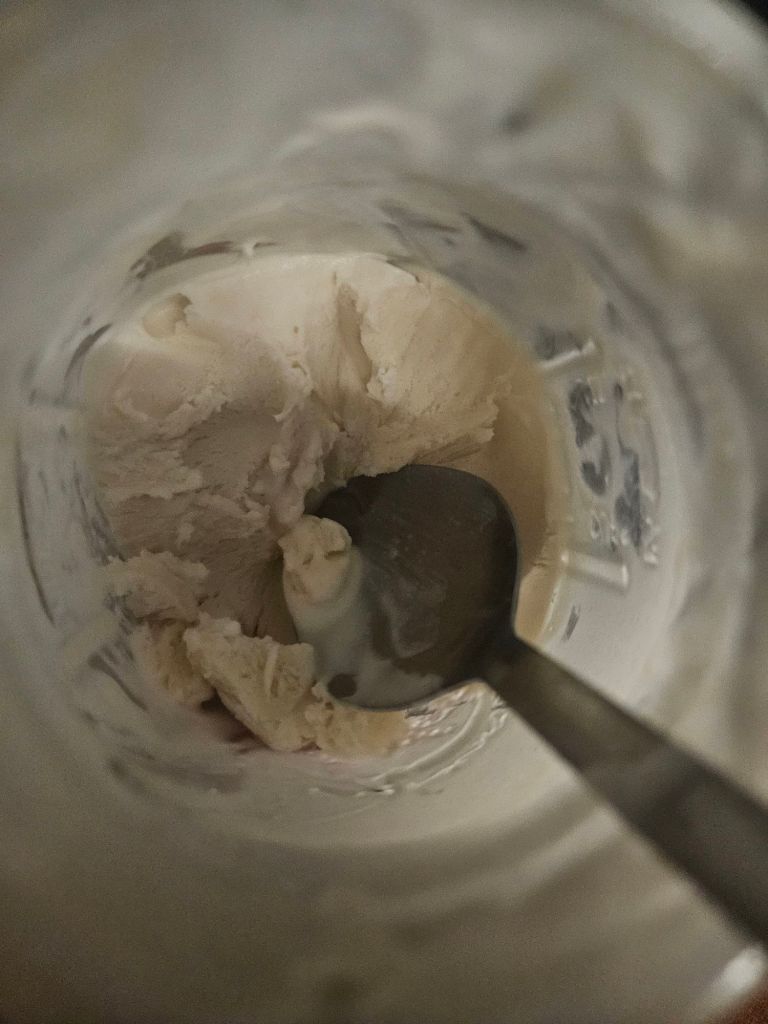
2 cups of melted nut or seed butter ( my origional batch consisted of melted vanilla almond butter
1/2 cup almond flour ( you can use other flour types as well)
1/2 cup raisins (you can use other fruits like dates as well)
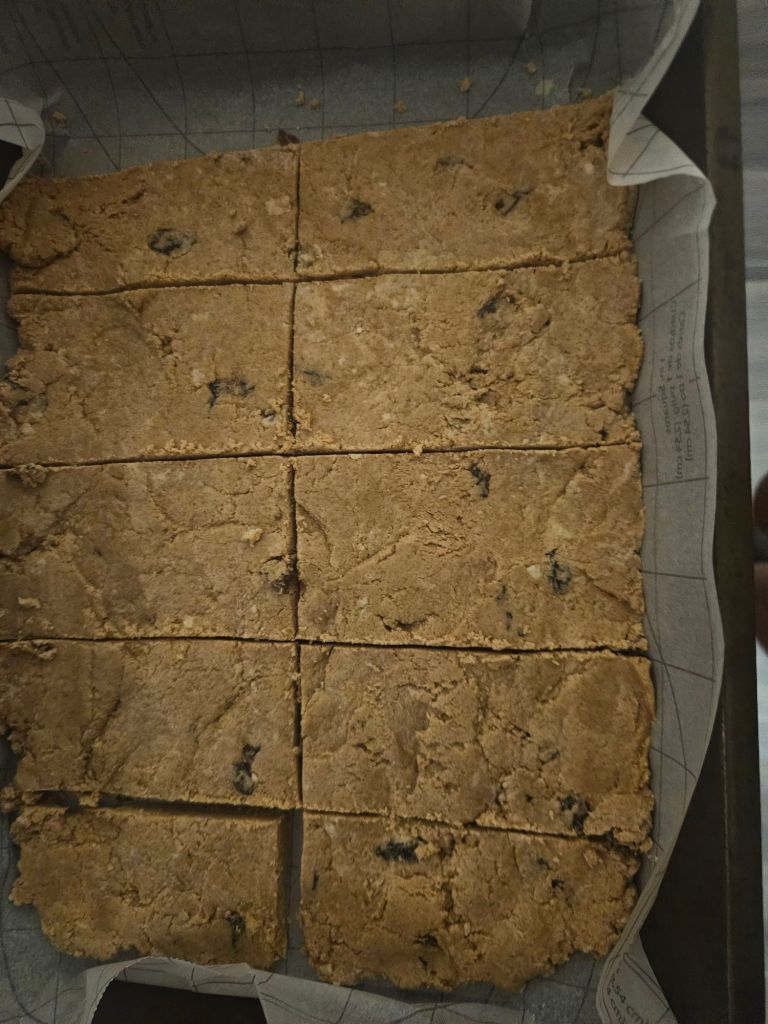
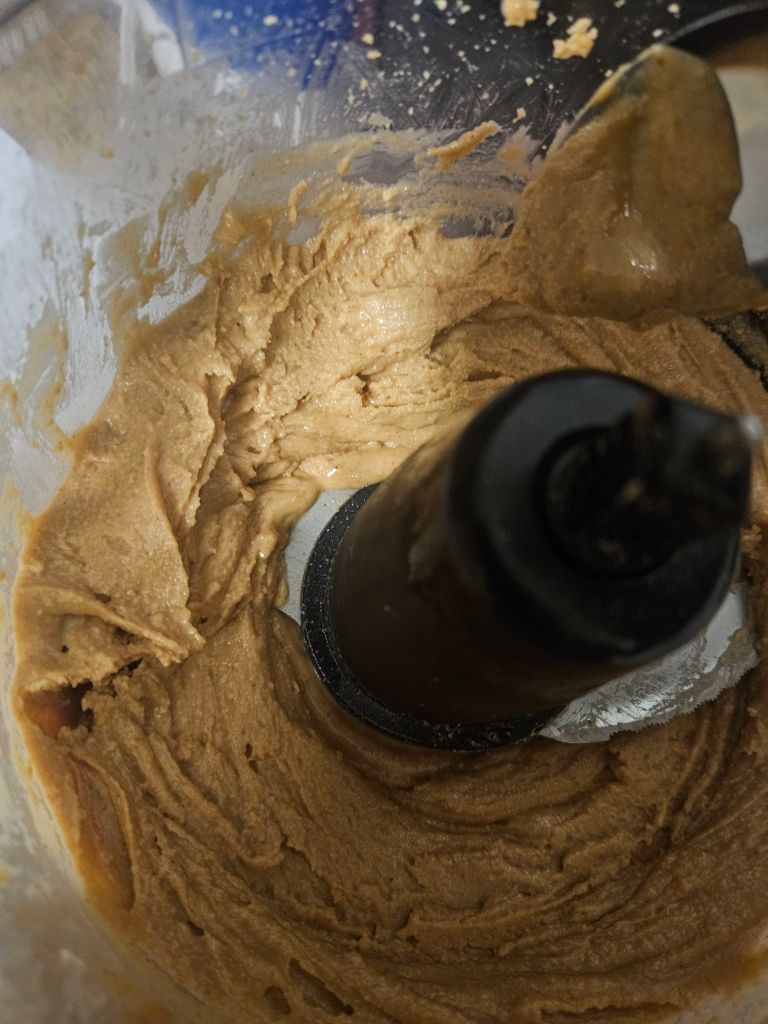
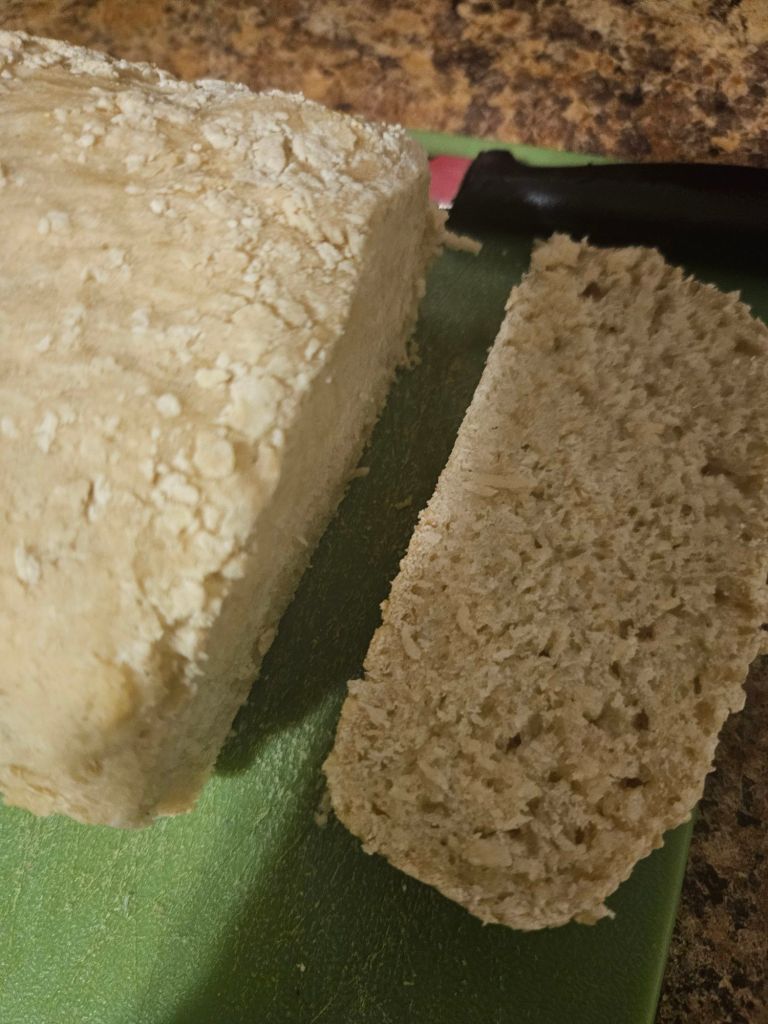
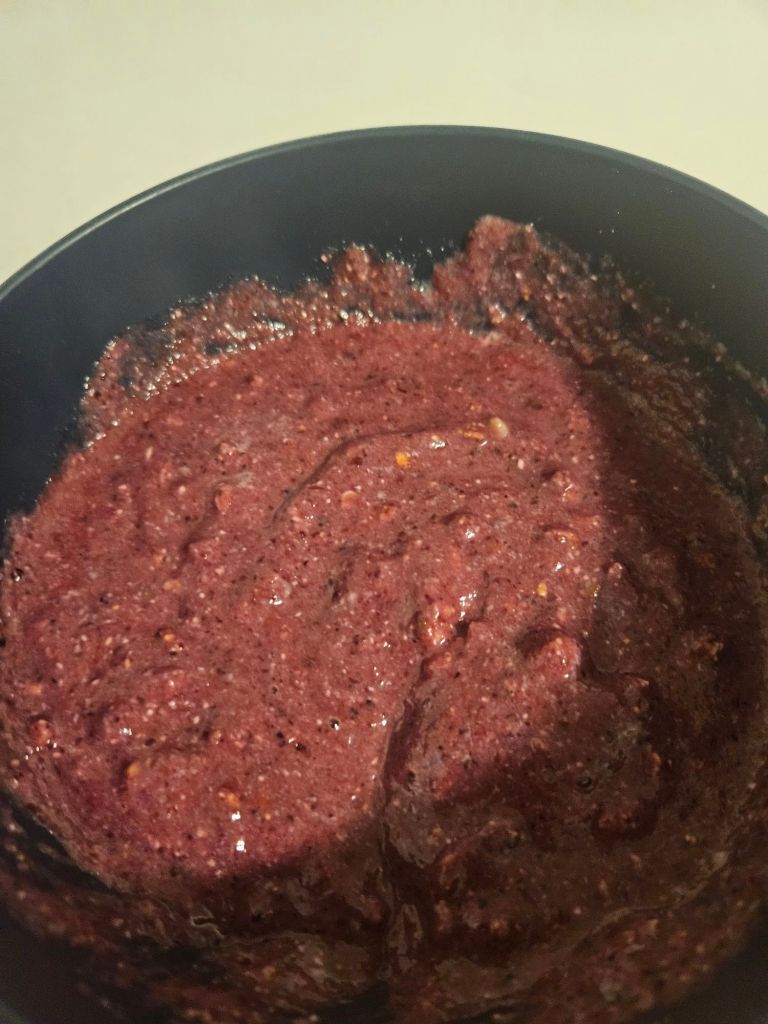
To make this you will want to mix the protein powder and almond flower together in a bowl. Once mixes melt down the almond butter. Pour the melted almond butter into the bowl with the dry mix. Add the maple syrup and incorporate the rasins. Mix until all ingredients are fully incorporated. Take mixture and place into a lined pan ( the shallower the pan the thinner the bars will be) and flatten out. Once flattened, placs the pan into the fridge to cool for an hour and cut into 12 pieces with a wet knife.
And there you have it! These bars were delicious and dare i say addictive. I spent around 40 dollars for all of my ingredients. I was able to get 24 bars before i needed to get more ingredients. That equated to around 1.67 per bar which was infinitely cheaper than buying a single bar at the store in most occasions. Until the next time dear readers. Excelsior!