Guilt Free Protein Muffins

When it comes to desserts, nothing is more satisfying than a good old-fashioned muffin. They are easy, quick, and tasty, but with the amount of sugar that can come in most muffins, it prompted me to see how i can make them less sugary and equally tasty.

For this recipe you will need the following: 3/4 sugar free sweetener,1 1/2 cup flour (or almond flour), 2 teaspoons of vanilla extract, 2 large eggs, 2 teaspoons baking powder, 2/3 cup almond milk, 2/3 cup olive oil, 1 cup of frozen fruit of your choice, 1/2 teaspoon sea salt, 3 cups of protein powder of your choice (i used the aldi brand which has 30 g of protein per scoop), and lastly avocado oil spray to lubricate the muffin tray with optional muffin cups.

While preheating the oven to 400 degrees Fahrenheit, take your dry ingredients and whisk together in a bowl and set aside. Next, combine all dry ingredients and pour over top of the dry ingredients and fold in the fruit as you stir into a batter. Once all the ingredients are together pour evenly into the muffin tray (my muffin tray made about 6 large muffins so can be spread out over at least 12 smaller muffins if you have a higher capacity tray). Once all the batter is in the tray, place the muffins into the oven for 20-25 minutes or until you can put in a toothpick and remove it from the muffin cleanly.

I left in in a little longer than anticipated, but it was still amazing.

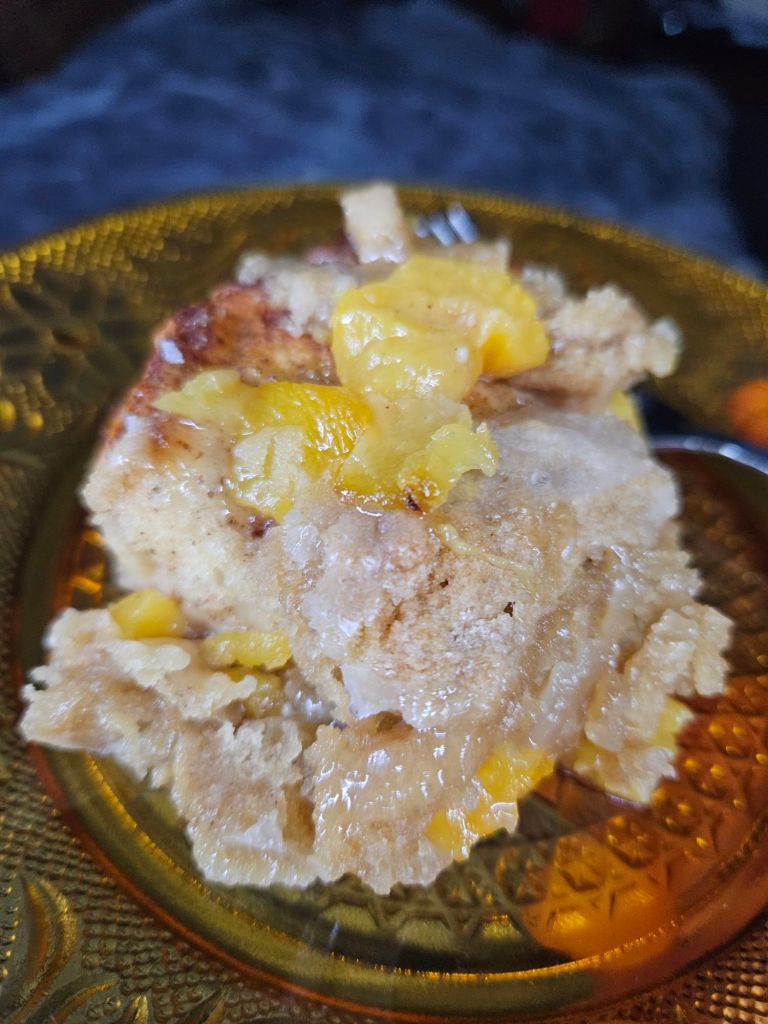
These muffins were so delicious, and I didn’t feel guilty eating a single one. With the sugar free sweetener and protein powder this made it into a nice staple for a post workout treat with 15 grams of protein per serving (for large muffin tray at 30 grams of protein per scoop with the protein i used. Your protein might vary depending on the powder used). These can last up to about a week and, of course, can be frozen for later. Until the next time, dear readers excelsior!

Mini basque cheesecake with homemade strawberry topping

During the holiday season, it is sometimes a challenge to stick to a diet when there is so much good food to have. Cheat days are nice, but then I had a thought of what can be done to still make a dish that is enjoyable year round without too much guilt. That’s when I decided to revisit the cheesecakes I’ve made in the past, but this time with less sugar. The basque cheesecake photos i have seen online inspired me to make my own sugar-free varient.

For this recipe you will need the following: cheesecake: 1 block Philadelphia light cream cheese, 1 1/2  cups plain Greek yogurt, 5 1/2 table spoons zero calorie sweetener of your choice, 2 eggs, 1 teaspoon of cornstarch and 2 table spoons of vanilla extract all at room temperature. Strawberry spread: 1 pound of strawberries halved and hulled, 1/4 cup zero calorie sweetener, 3 tablespoons of corn starch, 2 tablespoons of water, and a healthy splash of lemon juice.

To start your cheesecake, you will need to preheat your oven to 480. While that’s warming up, start to mix the cream cheese until smooth. Once that happens, mix in your Greek yogurt, vanilla, cornstarch, and sugar and continue stirring. Once incorporated, add one egg and carefully mix into the batter at a time and mix until smooth. I’ve seen these prepared with mini ramekins, but I only had full size available to me as well as a stunning lack of parchment paper, so I had to improvise with lightly greased aluminum foil. Bake for 15 minutes on the top rack and let them chill in the fridge for 3 hours.

No parchment paper? No problem.

While the cheesecakes chill, let’s make our spread. Chop the strawberries into halves (or finer if desired) and set to the side. Add your cornstarch into a small cup and mix with the water to make a slurry to add to the strawberries. Get a small to medium sauce pan and mix in the strawberries, cornstarch slurry, lemon juice, and sweetener over medium heat. Stir and break down the strawberries with a wooden spoon or rubber spatula of your choice. Once mashed down, place the mix under a low simmer for 5 minutes, stirring constantly and remove from the heat as the spread will thicken up as it cools. I stored mine in a mason jar for safe keeping and chill in the fridge with the cheesecake.

Guilt free goodness right there

Once 3 hours have passed with the cheesecake in the fridge, remove them from the foil and onto a place and give it a generous spread of the strawberries.

A little messy getting out the foil

This was an excellent  and guilt free dessert, and with the Greek yogurt, it had a nice little dose of protein hidden in there. The spread can last for a week, and the cheesecakes can last 3 to 4 days. This is a healthy and delicious dessert that you and loved ones can enjoy anytime! Until the next time, dear readers, excelsior!

3 ingredient low calorie  bread

I’ve been bitten by the cooking from scratch bug in recent weeks. There have seen many recipes i have had a want to create over the years and have tried recipes from various regions of the country and a few overseas.  I have decided to take on a challenge in the kitchen of which I’ve never undertaken: making bread. This was a beginner friendly bread that I created using a few simple ingredients: bread flour, rapid rise yeast, and pink hymilayan sea salt.

To start, you will want to heat 1 and a half cups of water on the stove. Next, you will need 3 and a half cups of bread flower to go into a large bowl. Once this has been placed in the bowl, you will need to add a table spoon of rapid rise yeast and half of a tablespoon of pink Himalayan sea salt

Dry ingredients ready to rock and roll

Once the dry ingredients are done the water should be nice and hot. Pour the water into the bowl and mix around until the flour is fully incorporated into the mix and form it into a ball.

I’m having a great time.  A ball if you will

Once this is shaped into a ball, cover it and place it somewhere warm and let it sit for an hour to build up in size. Once that is done put it into a bread pan that has been sprayed with cooking spray and form it into the pan and let it sit for another hour.

Two hours later

Once the hour has passed, put your oven on 450. Once the oven is heated bake the bread for 20 minutes to completion and remove to cool.

Bonus tip: I forgot that scoring the bread helps the bread expand more.

Once the bread has cooled, you will have a nice loaf of low calorie bread. I let a piece of this sit, but this bread lasted me about 5 days before it started to turn. I would recommend eating this right away while it is fresh.

Even without scoring the first time the bread looked great.

This was a wonderful first take on making a new dish. I realized this was rather small but I am looking to make it into larger loafs for the next time. This makes a very good peanut butter sandwich and with no preservatives, it was the most  guilt free pb&j that I have had in a while. Until the next time, dear readers, excelsior!

Easy Peach Cobbler Cinnamon Rolls

It’s been a while since I last shared a dessert recipe. In recent months, I’ve been coming up with various dishes, but a sweet treat is a must with the summer coming up. This is a quick and easy recipe for a tasty dessert combining two of my favorite desserts: peach cobbler and cinnamon rolls.

To make this you will need the following ingredients: 1 package of your favorite 8 count cinnamon rolls, 1 can of peaches ( sliced or whole or fresh to make 15 Oz worth), 1/4 cup heavy cream, 5 tablespoons of butter, 1/2 cup flower, 1/4 cup brown sugar.

First you will need to preheat your oven to 350 degrees F. While the oven is heating measure out 1/4 cup of peach juice and cut up the canned peaches (Alternatively just cut the peaches if they’re fresh) if not already sliced.  Mix this juice with your heavy cream and place the mixture into a greased baking pan.

Secondly, place the cinnamon rolls into the pan with the mixture and top with the sliced peaches. Once this is done, place the butter, brown sugar, and flower into a bowl and mix until combined and crumbly. Once the topping is ready, place atop the rolls evenly.

Thirdly, once assembled, place the cinnamon rolls into the oven for 45 minutes. Once out of the oven, pour the icing that came with the cinnamon rolls and enjoy!

A little messy but not bad for a first time

And there you have it in about an hours time you have tasty cinnamon rolls you can enjoy any time. This was a fun and simple recipe to make, and I highly recommend it if you’re a fan of unique cinnamon rolls. Or just love a good sweet treat once in a while! This recipe makes eight tasty cinnamon rolls perfect for sharing… or not. I hope this summer starts for you well, dear readers. Until the next time, excelsior!