Over the last few months, I’ve made homemade bread, a strawberry spread, and many other recipes. This time, I decided to go with something simple:homemade peanut butter
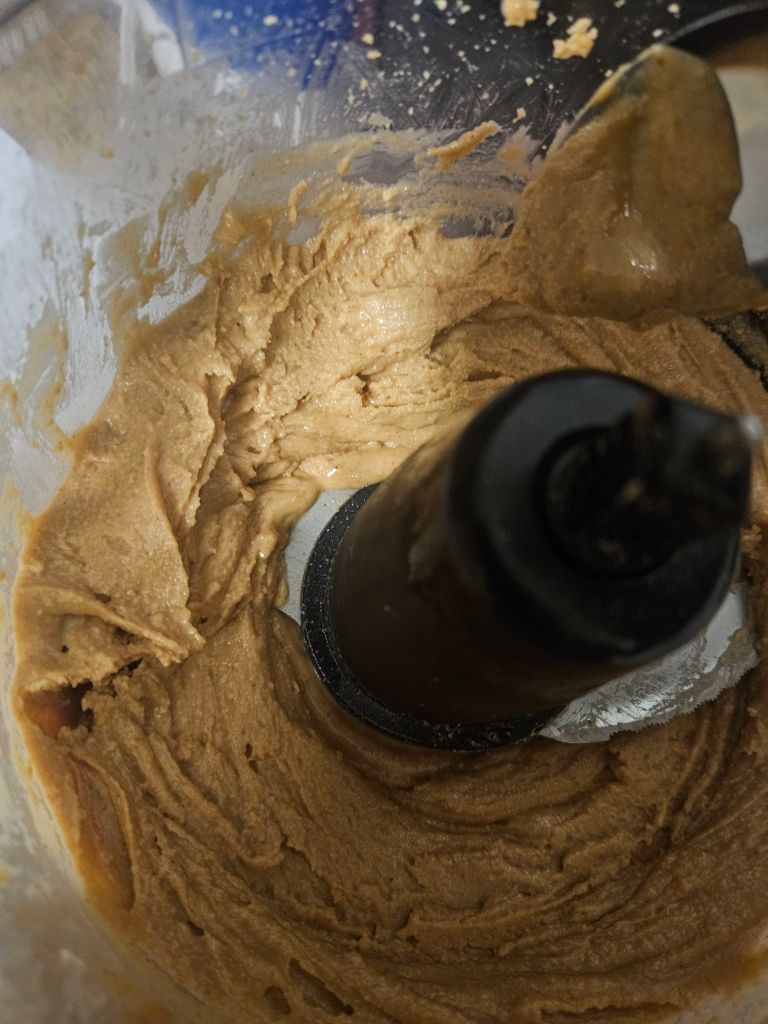
This recipe will require only three simple things: peanuts, a little salt ( if your peanuts aren’t already salted), and a food processor. You will want to take your food processor and fill it with 3 to 4 cups of peanuts and a little bit of salt. Once in the processor, mix on and off scooping down the sides of the processor container as you give the processor a rest during off periods. You will want to process the peanuts in the processor at intervals of 45 seconds on 15 to 20 seconds off to clean. Rinse and repeat for roughly 10 minutes until smooth and creamy. This is enough to make one mason jar full of peanut butter.
A labor of love
This is a great homemade treat that can be enjoyed in a sandwich with my sugar free spread and my low carb bread for a homemade pb&j, a base for homemade peanut butter cookies and the list goes on. For optional additives, you can add a little peanut butter for a honey peanut butter blend as well. Until the next time, dear readers, excelsior!
During the holiday season, it is sometimes a challenge to stick to a diet when there is so much good food to have. Cheat days are nice, but then I had a thought of what can be done to still make a dish that is enjoyable year round without too much guilt. That’s when I decided to revisit the cheesecakes I’ve made in the past, but this time with less sugar. The basque cheesecake photos i have seen online inspired me to make my own sugar-free varient.
For this recipe you will need the following: cheesecake: 1 block Philadelphia light cream cheese, 1 1/2 cups plain Greek yogurt, 5 1/2 table spoons zero calorie sweetener of your choice, 2 eggs, 1 teaspoon of cornstarch and 2 table spoons of vanilla extract all at room temperature. Strawberry spread: 1 pound of strawberries halved and hulled, 1/4 cup zero calorie sweetener, 3 tablespoons of corn starch, 2 tablespoons of water, and a healthy splash of lemon juice.
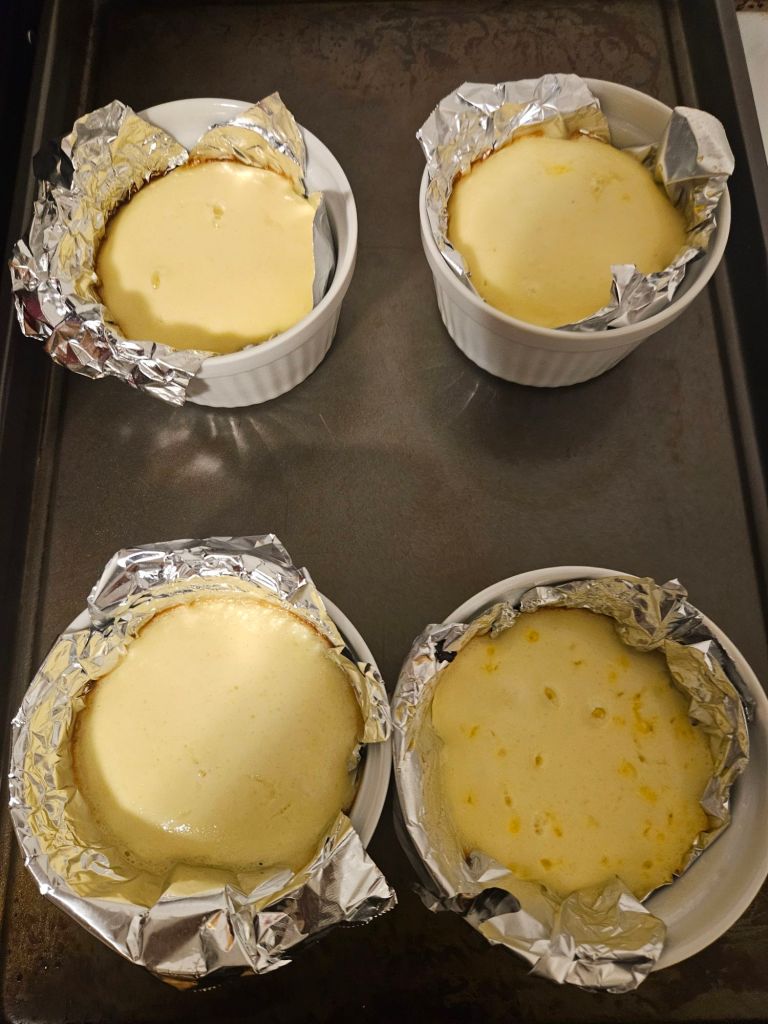
To start your cheesecake, you will need to preheat your oven to 480. While that’s warming up, start to mix the cream cheese until smooth. Once that happens, mix in your Greek yogurt, vanilla, cornstarch, and sugar and continue stirring. Once incorporated, add one egg and carefully mix into the batter at a time and mix until smooth. I’ve seen these prepared with mini ramekins, but I only had full size available to me as well as a stunning lack of parchment paper, so I had to improvise with lightly greased aluminum foil. Bake for 15 minutes on the top rack and let them chill in the fridge for 3 hours.
No parchment paper? No problem.
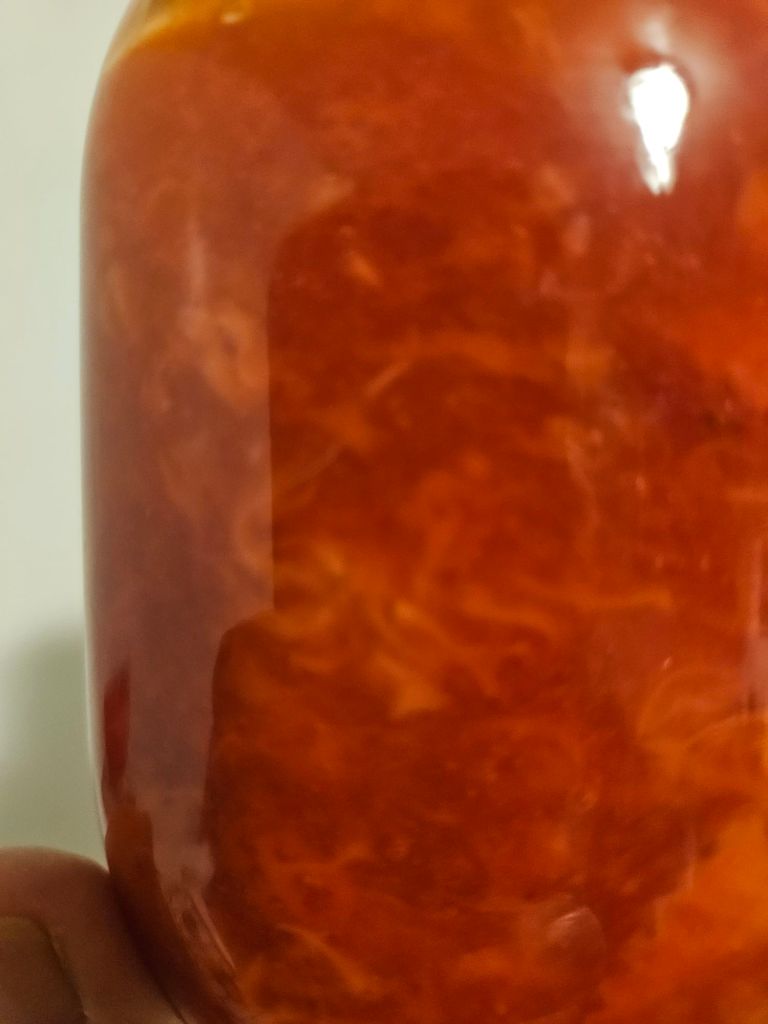
While the cheesecakes chill, let’s make our spread. Chop the strawberries into halves (or finer if desired) and set to the side. Add your cornstarch into a small cup and mix with the water to make a slurry to add to the strawberries. Get a small to medium sauce pan and mix in the strawberries, cornstarch slurry, lemon juice, and sweetener over medium heat. Stir and break down the strawberries with a wooden spoon or rubber spatula of your choice. Once mashed down, place the mix under a low simmer for 5 minutes, stirring constantly and remove from the heat as the spread will thicken up as it cools. I stored mine in a mason jar for safe keeping and chill in the fridge with the cheesecake.
Guilt free goodness right there
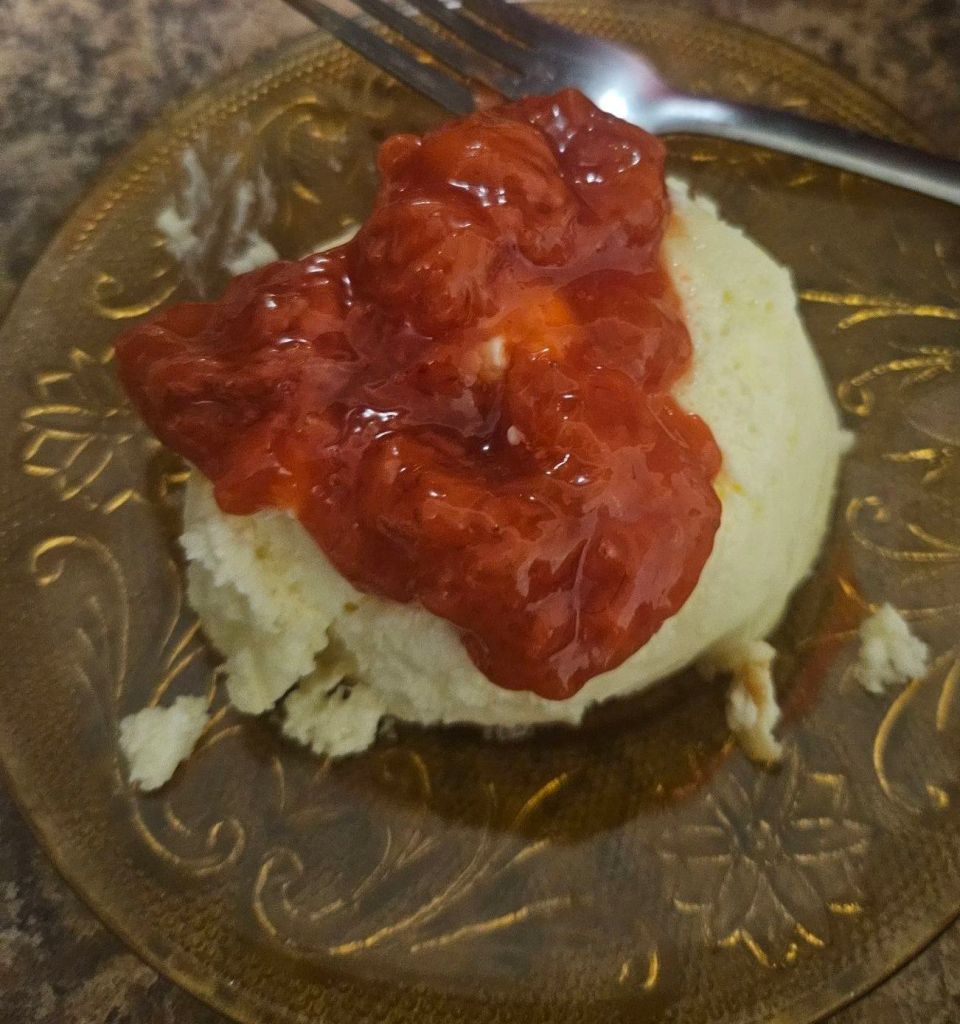
Once 3 hours have passed with the cheesecake in the fridge, remove them from the foil and onto a place and give it a generous spread of the strawberries.
A little messy getting out the foil
This was an excellent and guilt free dessert, and with the Greek yogurt, it had a nice little dose of protein hidden in there. The spread can last for a week, and the cheesecakes can last 3 to 4 days. This is a healthy and delicious dessert that you and loved ones can enjoy anytime! Until the next time, dear readers, excelsior!
I’ve been bitten by the cooking from scratch bug in recent weeks. There have seen many recipes i have had a want to create over the years and have tried recipes from various regions of the country and a few overseas. I have decided to take on a challenge in the kitchen of which I’ve never undertaken: making bread. This was a beginner friendly bread that I created using a few simple ingredients: bread flour, rapid rise yeast, and pink hymilayan sea salt.
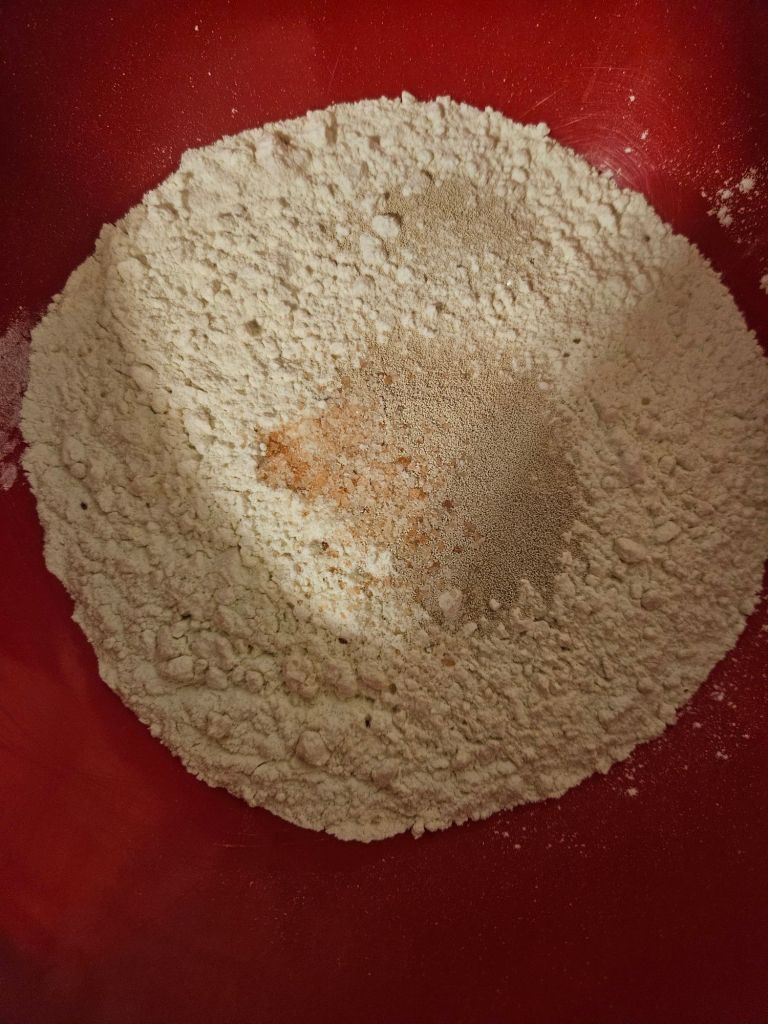
To start, you will want to heat 1 and a half cups of water on the stove. Next, you will need 3 and a half cups of bread flower to go into a large bowl. Once this has been placed in the bowl, you will need to add a table spoon of rapid rise yeast and half of a tablespoon of pink Himalayan sea salt
Dry ingredients ready to rock and roll
Once the dry ingredients are done the water should be nice and hot. Pour the water into the bowl and mix around until the flour is fully incorporated into the mix and form it into a ball.
I’m having a great time. A ball if you will
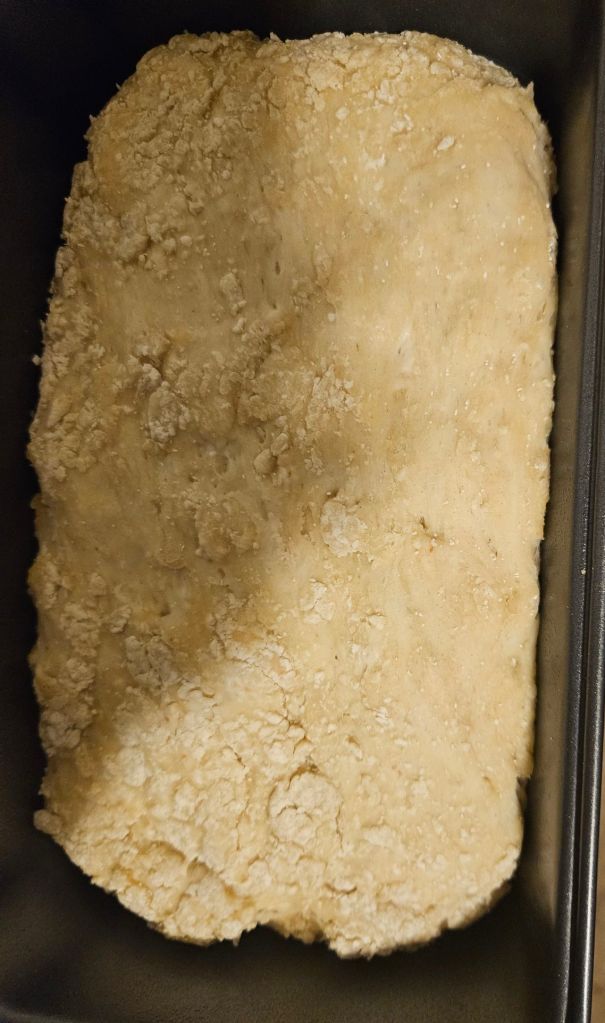
Once this is shaped into a ball, cover it and place it somewhere warm and let it sit for an hour to build up in size. Once that is done put it into a bread pan that has been sprayed with cooking spray and form it into the pan and let it sit for another hour.
Two hours later
Once the hour has passed, put your oven on 450. Once the oven is heated bake the bread for 20 minutes to completion and remove to cool.
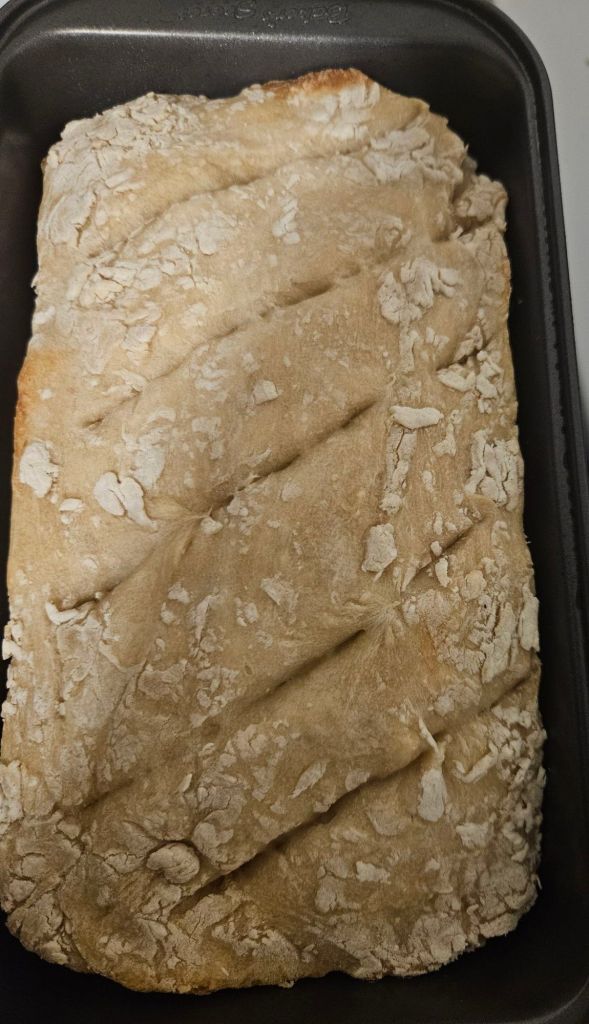
Bonus tip: I forgot that scoring the bread helps the bread expand more.
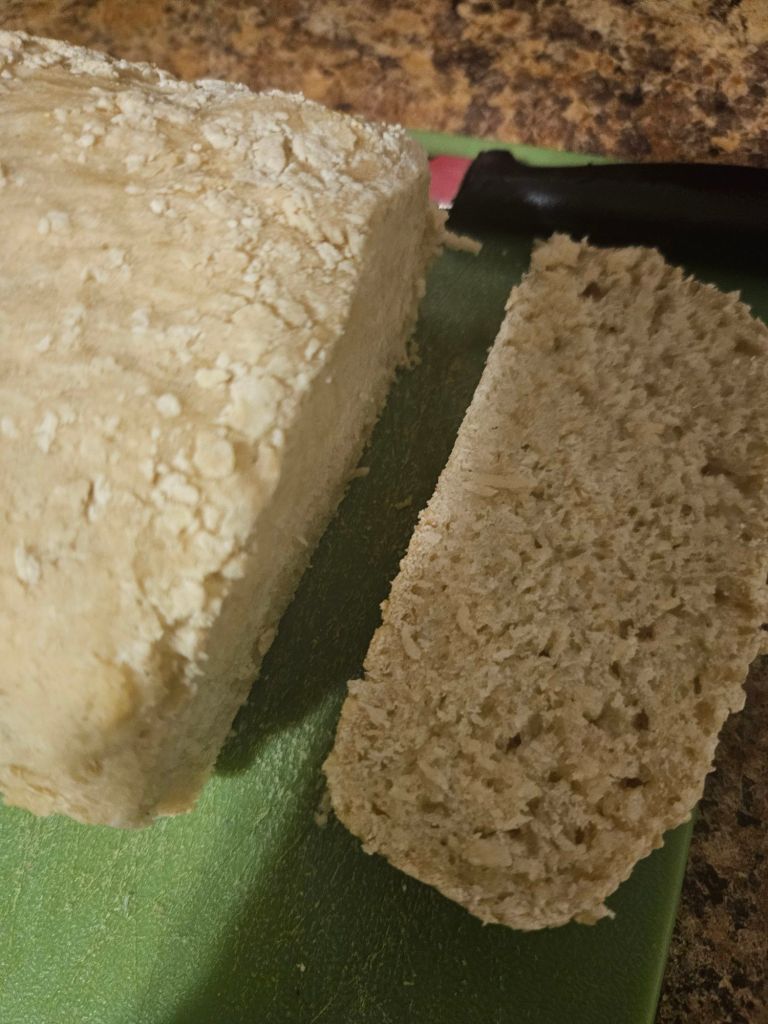
Once the bread has cooled, you will have a nice loaf of low calorie bread. I let a piece of this sit, but this bread lasted me about 5 days before it started to turn. I would recommend eating this right away while it is fresh.
Even without scoring the first time the bread looked great.
This was a wonderful first take on making a new dish. I realized this was rather small but I am looking to make it into larger loafs for the next time. This makes a very good peanut butter sandwich and with no preservatives, it was the most guilt free pb&j that I have had in a while. Until the next time, dear readers, excelsior!
Recently, I went to a juicery for the first time. I enjoyed the diverse mixes of fruit and veggies and felt the need to get another mixed juice. I then took a look at the price of the juice and asked myself: What if I just did this at home to save myself some money? Fast forward a week, and I purchased this lovely little tool.
And so it begins
Before I begin, there are many reasons why juicing was an appealing method to amd why a juicer was a wonderful investment. The first part is that without extra sugars and preservatives, it is lower in calories, and I can enjoy it guilt free compared to regular store bought fruit juice. Keeping in mind this juice typically should be consumed in 24-48 hours due to the lack of said preservatives. Additionally, this helps more of the nutrients from the fruits and vegetables get into your system more easily than the body needs. During the summer months, this is a refreshing way to keep hydrated . Also, there are good natural additives one can use, such as cinnamon and tumeric, for aid in weight loss and better digestion. And lastly, it’s just fun coming up with different flavors and mixes.
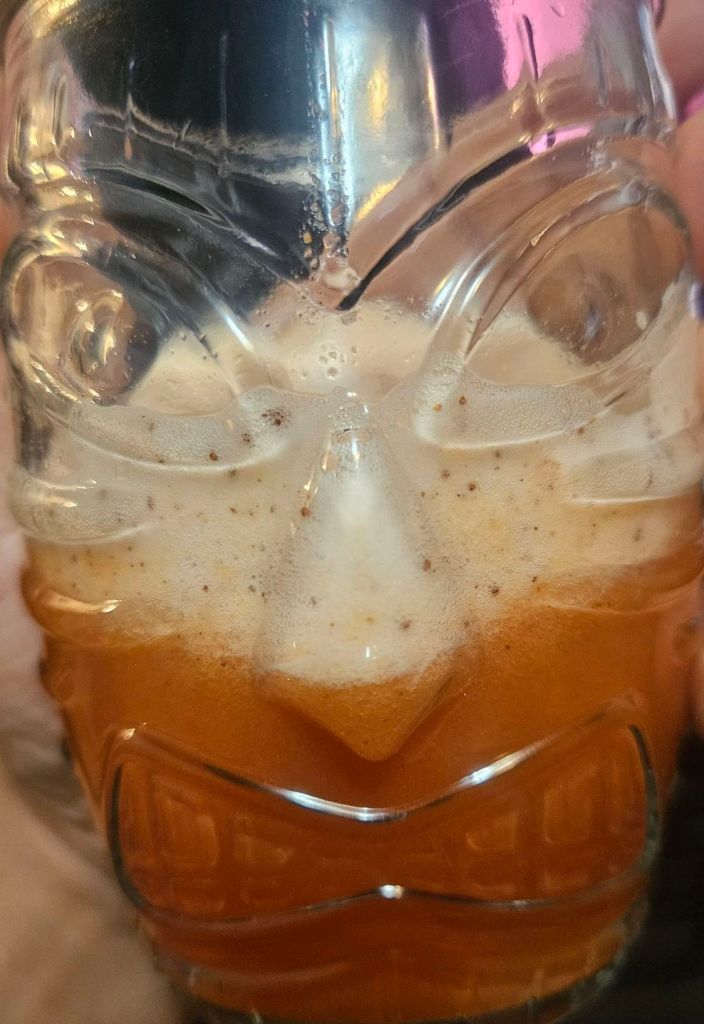
I then began reading up on different juicing combinations and ideas and decided to give it a give it a try. My first juice was an apple, pineapple, and strawberry juice mixed with a little bit of cinnamon for the extra kick.
The Tiki glass really set the tone for me
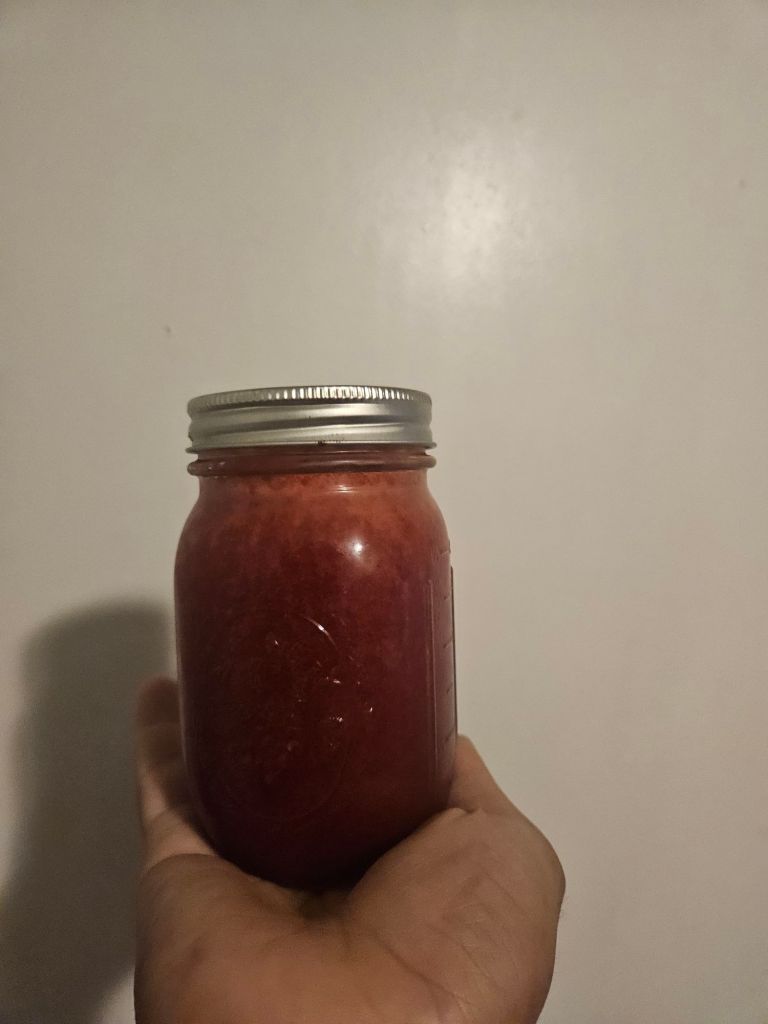
I then got to brainstorming and looking for inspiration for the next juice. That’s when things got a little…..wild. Early on a Sunday morning, I felt the creative urge to whip something up, and I had the great idea to make another juice. But this time, there was a twist. The first juice was a pineapple, cherry, strawberry juice with cinnamon.
This was insanely sweet
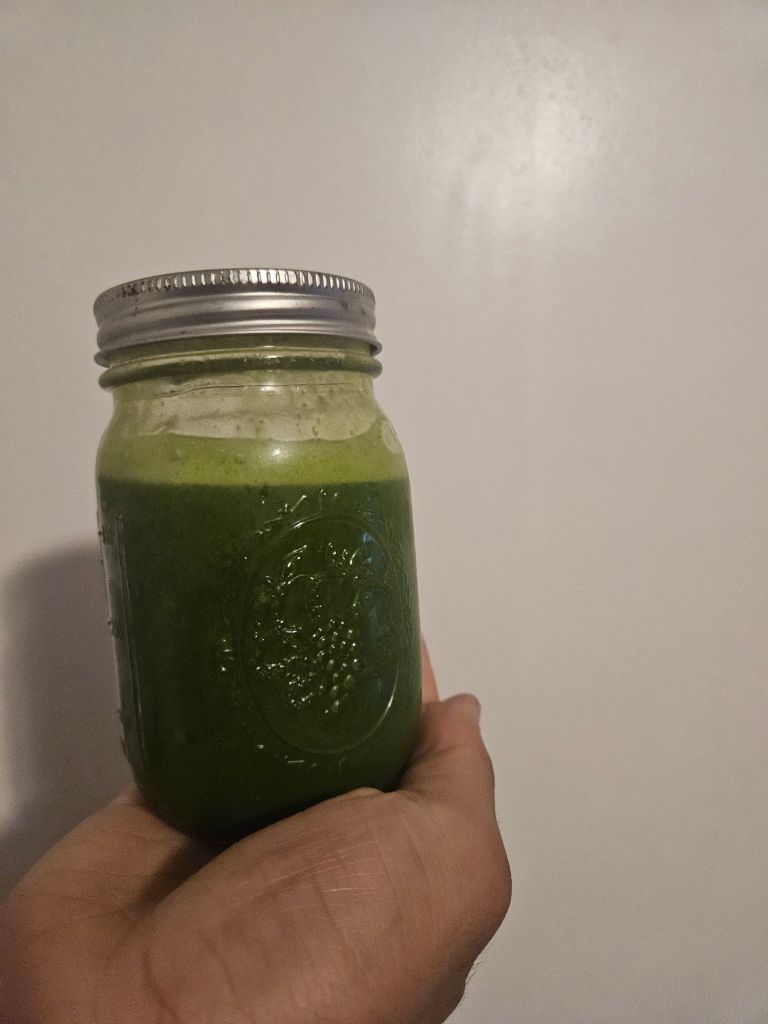
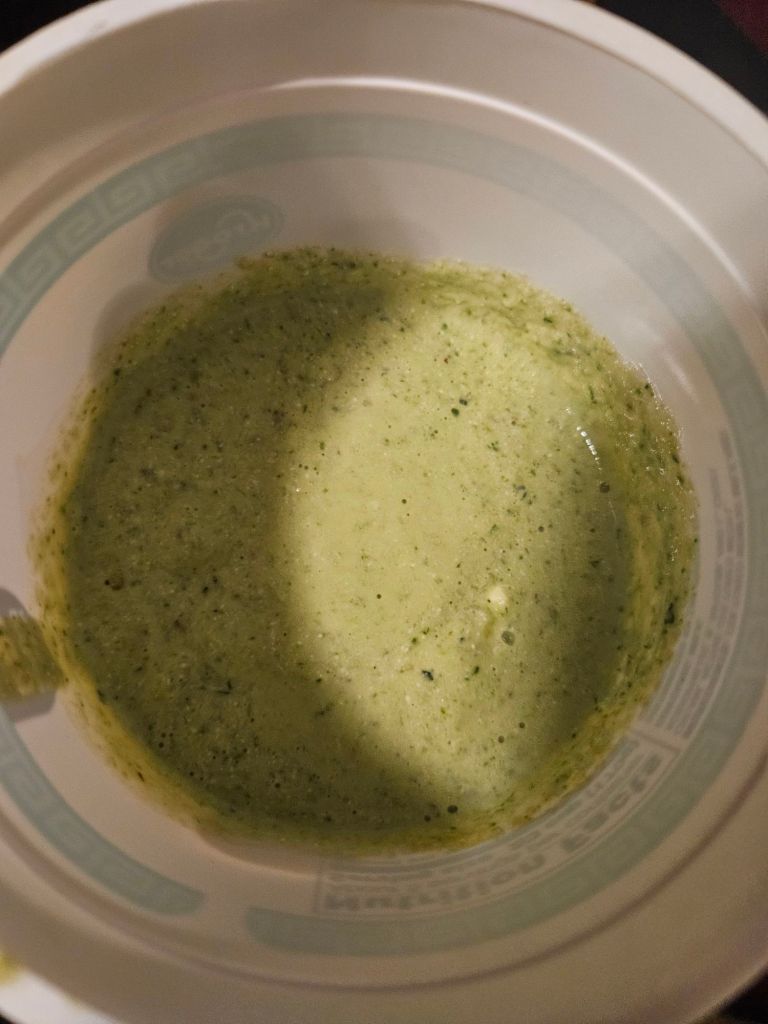
Next, I decided to try vegetables, so I made a green juice with green apple, spinach, cucumber, lemon, and tumeric.
Added a little too much lemon but excellent nonetheless
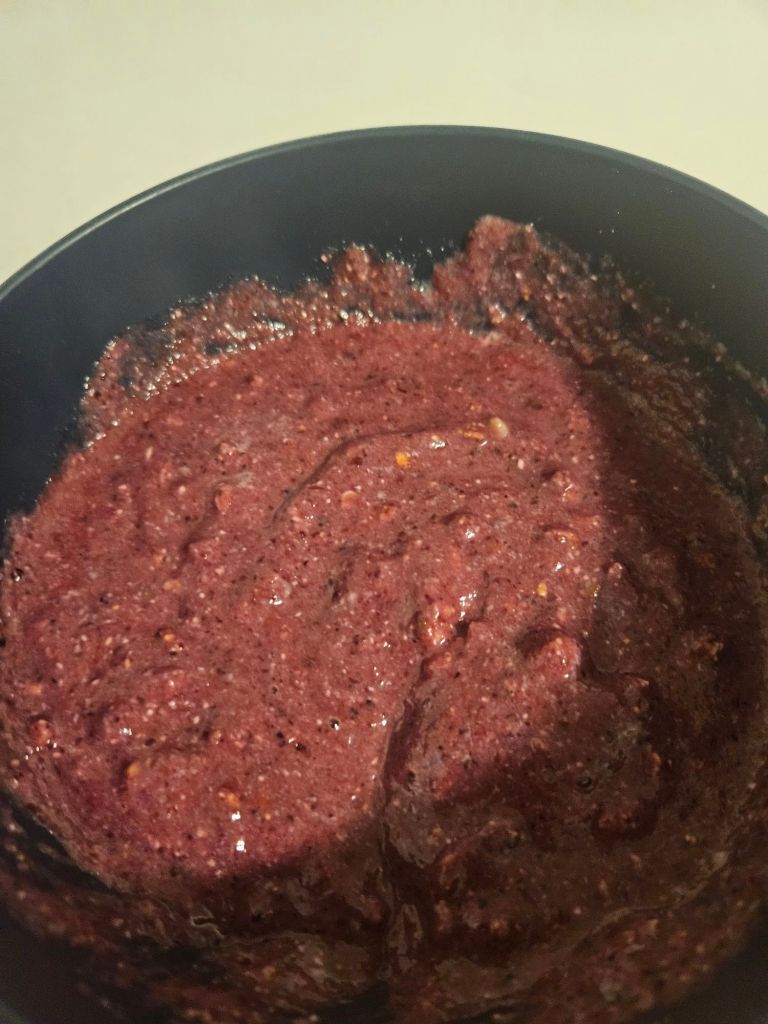
Once I finished juicing , I realized I had pulp left over. Then my wheels began to turning and I went to the net for different ideas on how to use the pulp. My first creation was adding a little extra frozen fruit to make a smoothie bowl
Can never go wrong with fruit and granola
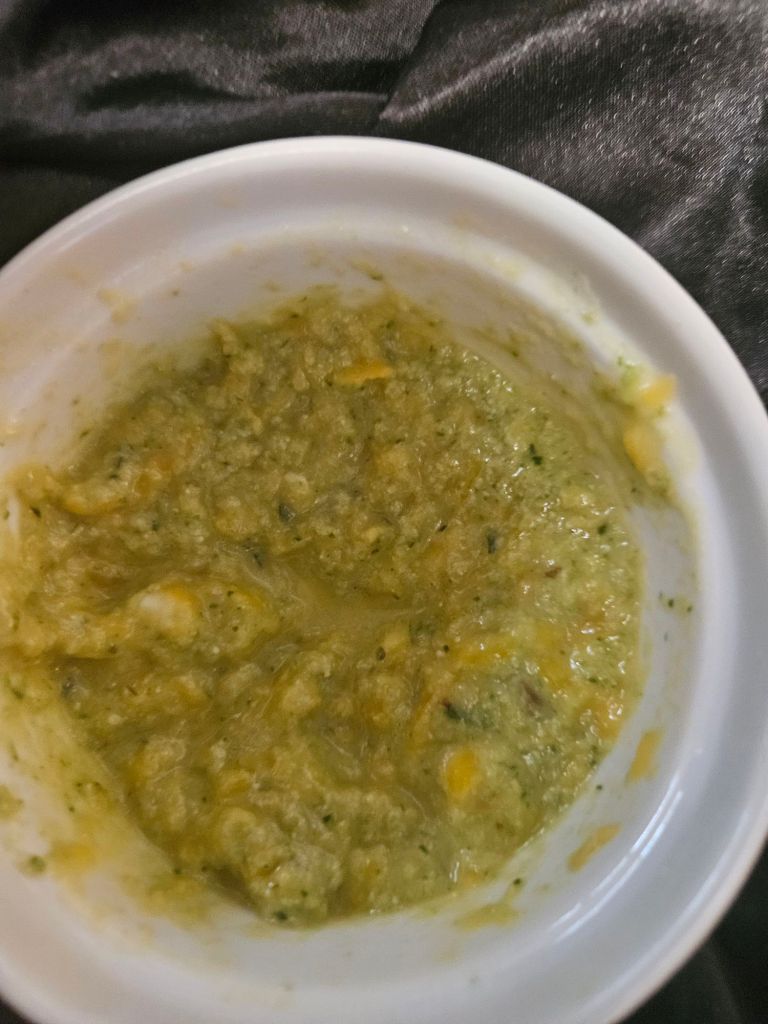
Once I devoured my smoothie bowl, I wondered what I could do with the veggie pulp. Then, after some digging, I decided to make it into a dip akin to a spinach artichoke dip. A little cottage cheese as a base (and extra protein to boot) and a little cheddar cheese really brought this together.
Before After
There are many benefits to juicing. This was a wondeful experience for my first few times trying it, and I look forward to trying more combinations in the future. This would be a wonderful tool for anyone’s kitchen and the possibilities for not just juicing but also what can be done with the pulp alone are numerous. Until the next time, dear readers, excelsior!
In the last few months, I have been on a low calorie high protein kick. There are several recipes I’ve come up with and seen that were absolutely mind-blowing. The latest recipe I came across was surprisingly filling and loaded with protein to meet my macros and was quite flavorful. That recipe would be buffalo chicken burritos. Bonus here. This is also a fun recipe one can make in a crock pot.
To start, you will need the following: 60 oz of chicken breast (about 4 large pieces), 2 cups of low or zero fat cream cheese, 4 oz of reduced fat cream cheese, 3 cups chicken Bone broth, 1/2 cup low calorie buffalo sauce (I prefer franks red hot because it’s just that good so i cheated a little here, 1 1/2 cups white or jasmine rice ,2 cups of fat free cheddar cheese,10 low calorie tortillas (i used low cal high fiber wraps) and for seasoning I recommend a packet of ranch seasoning, paprika, garlic powder, black pepper, tumeric, cumin, and a little salt free mrs. Dash seasoning.
First, mix in all the seasonings into the chicken until the color changes. Second, slow cook the chicken on high for about 3 hours or until it reaches recommended serving temperature of 165 degrees Fahrenheit
Might not look tasty yet but it smells delightful
While the chicken is cooking, cook the rice in the bone broth to allow it to soak in for extra protein. While that is boiling, take your cottage cheese, cream cheese, and buffalo sauce and mix it in a mixer/blender until it has combined smoothly into a creamy sauce.
We’re getting there little by little
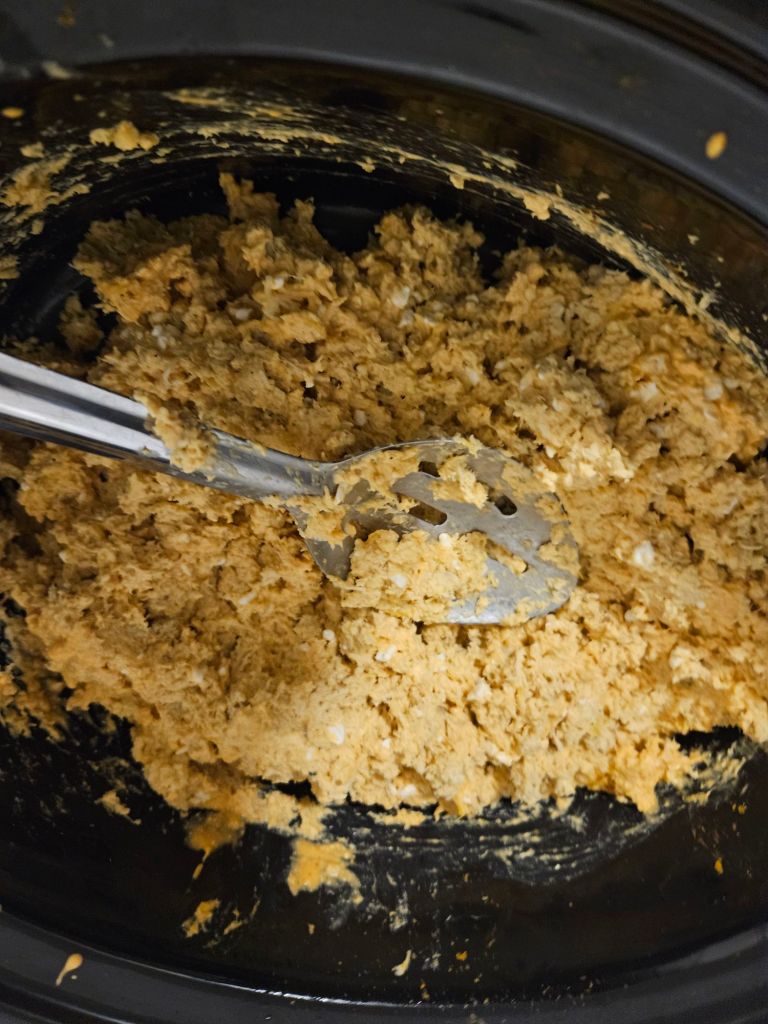
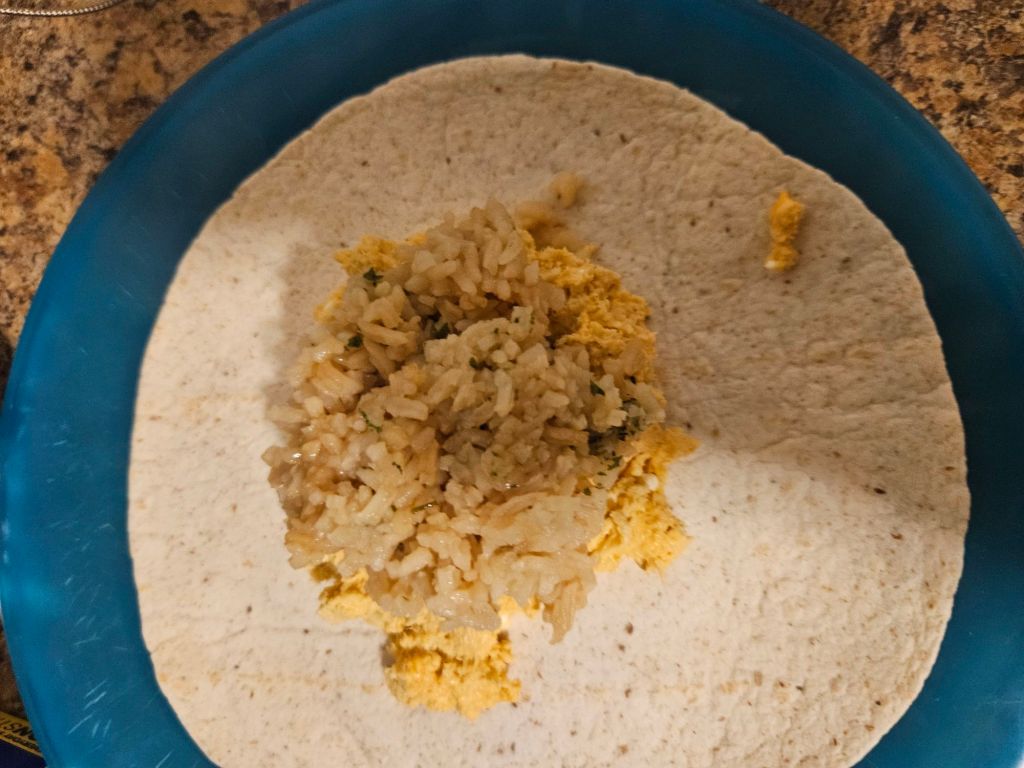
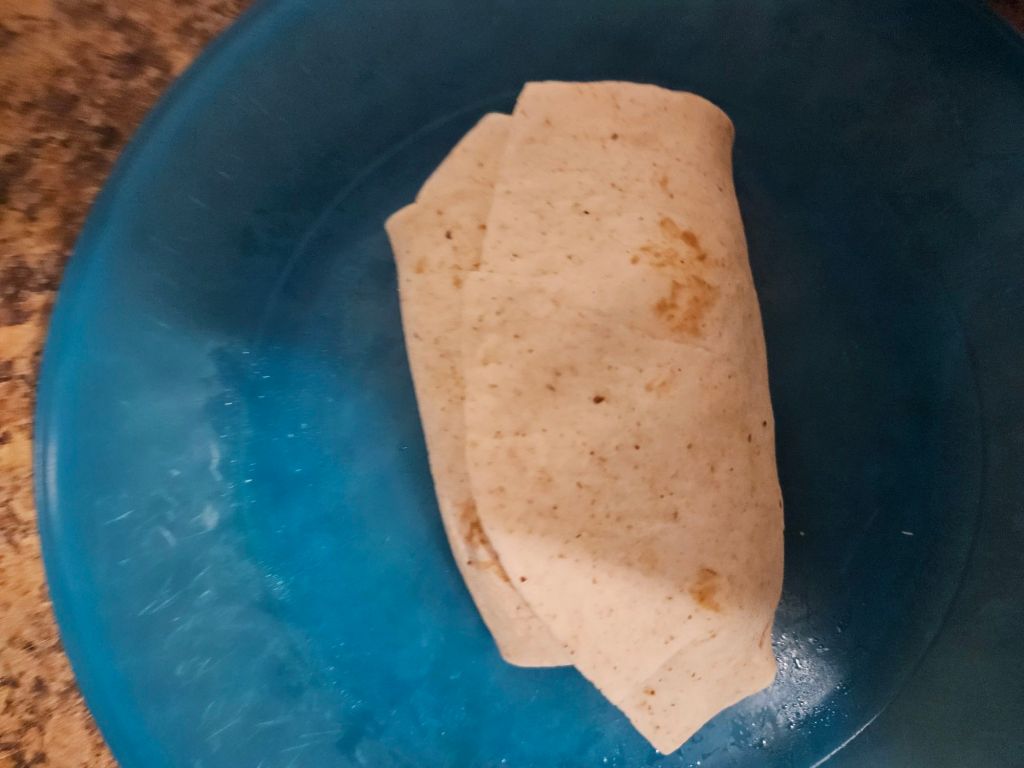
Once the meat is done, sprinkle the cheese and pour the sauce over top and give it a good mixing. Once mixed, prepare your tortilla with 1/10th of the meat and rice and evenly wrap the burritos until all the ingredients are gone. Once completed, these are ready for serving or can be wrapped in foil to store for up to 60 days to enjoy for a quick meal.
Ready for assembly
This was an excellent meal prep that kept me full and was really easy to make. I hope this recipe makes for a wonderful meal prep or family meal for anyone reading this. Until the next time, dear readers, excelsior!
My burrito wrapping skills could use a little more work
As someone who enjoys working out, there are many different training methods. From calisthenics, crossfire, power lifting and the lost goes on. I have used various training methods to get stronger and in recent weeks I discovered the methods of one Mike Mentzer. Mentzer was a champion body builder and coached many clients over the years in terms of high intensity training. I thought his approach to strength training was intriguing so I took on his training method for a few weeks to see how it would feel to train like his clientele.
This training split involved several rest days between sessions (Mike’s clients had 96 hours between sessions to emphasize recovery) and didn’t take too many hours in the gym to complete a session. Usually, it can take upwards towards 30 minutes to compete these workouts. There was a lot of superset work to really blast the muscles to failure with weight that will challenge the muscles. High intensity, low volume, and good recovery are the name of the game here. Here are the exercises that I did using his training method. :
Day one- chest and back 1-2 Set chest fly 6-10 reps 1 Set smith machine bench press medium grip (incline preferred) 6-10 reps 1 Set with straight bar lat pull down 6-10 reps 1 Set lat pull down with a closed grip 6-10 reps 1 Set deadlift 6-10 reps
Rest 48- 96 hours
Day two- legs and abs 1 Set leg extensions 12-20 reps 1 Set leg press or barbell back squats 6-10 reps 1 Set leg curls 6 -10 reps 1 Set calf raises 6-10 reps 1 Set decline weighted sit ups 12-20 reps
Rest 48 -96 hours
Day three-arms and shoulders 1 Set machine/dumbbell lateral raise 6-10 reps 1 Set reverse peck deck/rear dumbbell raise 6-10 reps 1 Set barbell curl (straight bar) 6-10 reps 1 Set cable triceps pull down 6-10 reps 1 Set triceps press down 6-10 reps
Now I myself felt that one set at a challenging weight was good, but then I wondered if I could go beyond that. For these exercises, I modified the sets to 2 sets with up to 10-15 reps. This combined with ab work and a 15-minute cardio session were very satisfactory for my workout. Overall, I spent less than my normal time in the gym with the feeling that I went even longer, and that was an excellent feeling. Overall, this was an excellent regimen to try, which I would recommend for anyone to test out, and it does not feel like a chore. The extra rest times were good as I felt much stronger the next time I I hit the gym. Until the next time, dear readers excelsior!
It’s been a while since I last shared a dessert recipe. In recent months, I’ve been coming up with various dishes, but a sweet treat is a must with the summer coming up. This is a quick and easy recipe for a tasty dessert combining two of my favorite desserts: peach cobbler and cinnamon rolls.
To make this you will need the following ingredients: 1 package of your favorite 8 count cinnamon rolls, 1 can of peaches ( sliced or whole or fresh to make 15 Oz worth), 1/4 cup heavy cream, 5 tablespoons of butter, 1/2 cup flower, 1/4 cup brown sugar.
First you will need to preheat your oven to 350 degrees F. While the oven is heating measure out 1/4 cup of peach juice and cut up the canned peaches (Alternatively just cut the peaches if they’re fresh) if not already sliced. Mix this juice with your heavy cream and place the mixture into a greased baking pan.
Secondly, place the cinnamon rolls into the pan with the mixture and top with the sliced peaches. Once this is done, place the butter, brown sugar, and flower into a bowl and mix until combined and crumbly. Once the topping is ready, place atop the rolls evenly.
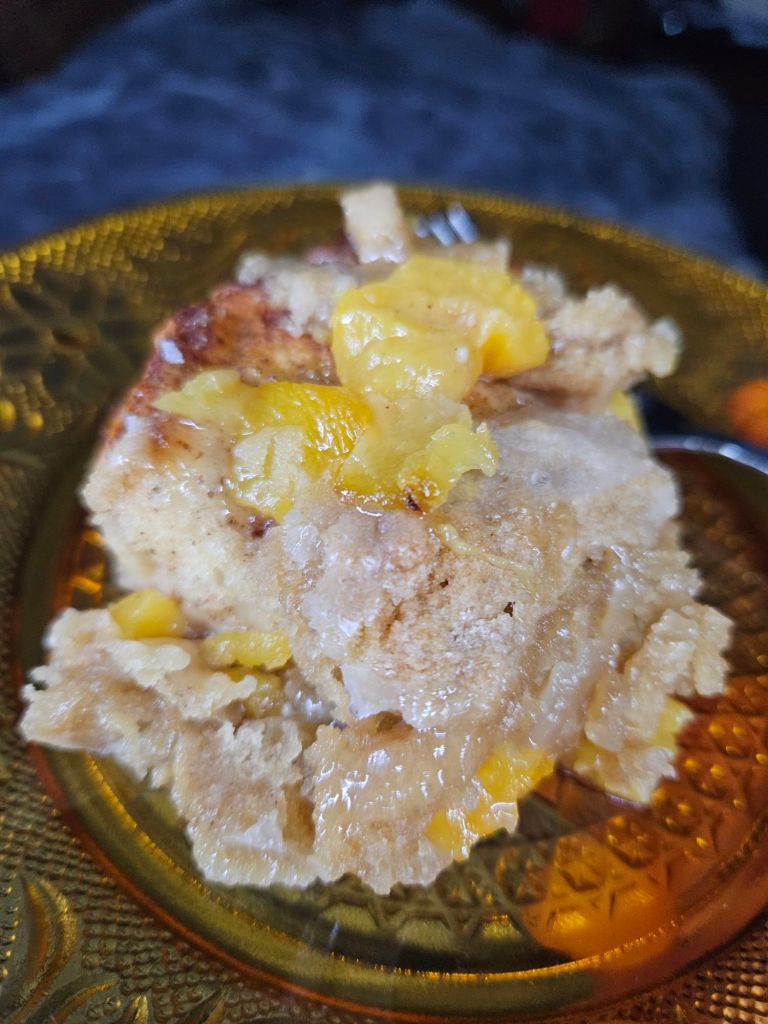
Thirdly, once assembled, place the cinnamon rolls into the oven for 45 minutes. Once out of the oven, pour the icing that came with the cinnamon rolls and enjoy!
A little messy but not bad for a first time
And there you have it in about an hours time you have tasty cinnamon rolls you can enjoy any time. This was a fun and simple recipe to make, and I highly recommend it if you’re a fan of unique cinnamon rolls. Or just love a good sweet treat once in a while! This recipe makes eight tasty cinnamon rolls perfect for sharing… or not. I hope this summer starts for you well, dear readers. Until the next time, excelsior!
The world is full of all kinds of happenings. Some of these are good and others not so hood. In the age of social media and frequent pop ups, endless notifications, and information over load; it can be hard to be able to balance everything out and it can be hard to keep your headspace in the right place.
In light of things being quick and information being consumed in bite sized chunks I would like to share a method to help with starting your day on a good foot. When you start your day take the first 60 seconds to take into account all the things you are grateful for. During this period of time of reflection this will allow you to be able to think of the positive things and help ward off negative thoughts as the day goes on. If you focus on the good it helps more good come forward. I try to be cognizant to be able to make this a constant habit to keep up on and it lifts my mood in the mornings when I do this. I’ve attached a video below that I came across some time ago that inspired me to give it a go.
In our private moments, being able to pause, reflect, and meditation are good things to help keep us aware of our thoughts and feelings. It’s important that even on the modern day, it is a superhighway of information and stimuli that we do not lose sight of the here and now. This is something that can keep you aware of where you are mentally, physically, and spiritually and can help you in becoming your best self. Until the next time, dear readers. Excelsior
With spring around the corner, I figured it would be a good time to get a wonderful spring recipe together that anyone can make and enjoy. This will combine two of my favorite things: salads and Mason jars. This tasty dressing will male a fine addition for any salad or wrap.
To start you will need a few crucial ingredients: 1 tablespoon of Dijon mustard, 1/2 cup of red wine vinegar, 1/4 cup olive oil, 1 garlic clove (crushed), 1 table spoon of parsley, 1 teaspoon of honey, 1 tablespoon of lemon juice, a dash of salt and pepper to add to taste.
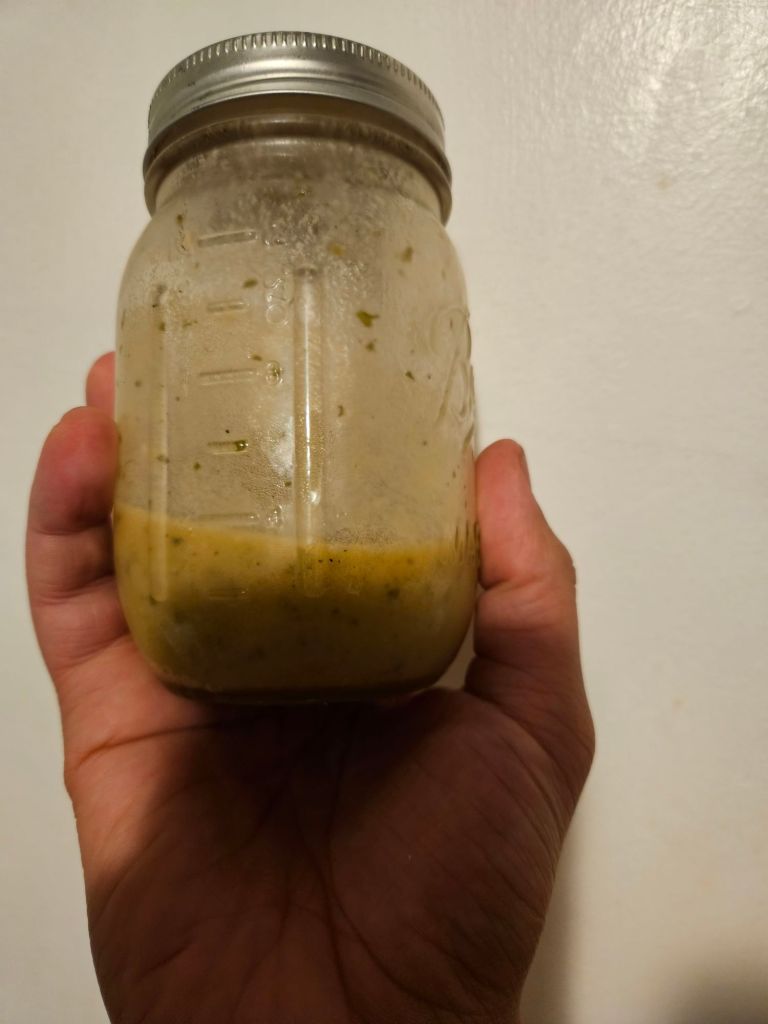
Once you round up your ingredients, you’ll need to get one mason jar to put in all dry and wet ingredients. Once all ingredients are in the jar, vigorously shake the jar to mix your ingredients, and you are ready to serve. This makes roughly 1/4 of a mason jar full of dressing. You can add more as you see fit.
The finished product
This dressing is very flavorful and adds a wonderful zing to any dish you pair with it. As the weather warms up I look forward to sharing more recipe ideas to share with you. Until the next time dear readers, excelsior!
Happy New Year, one and all. I hope this post finds you well and working towards your goals for this new year. One of my goals for this year is to create more unique recipes for my (and your) enjoyment. Approaching 10 years ago, I went to France. It was there that I tried various different dishes from exotic cheese, nutella crepes, duck, escargot, and orangina soda. One of my favorite dishes I discovered there was creme brulee. In recent months, I decided to get around to creating this delicate French dessert.
For this recipe you will need the following: 4 ramekins, 4 egg yolks, 2 cups heavy whipping cream, 1/3 cup granulated sugar, 1 teaspoon vanilla, and 1/4 cup of sugar for the caramelized topping.
First step heat the cups of of heavy cream in a small pot on medium heat until it is hot but not boiling.
No bubbles, no troubles
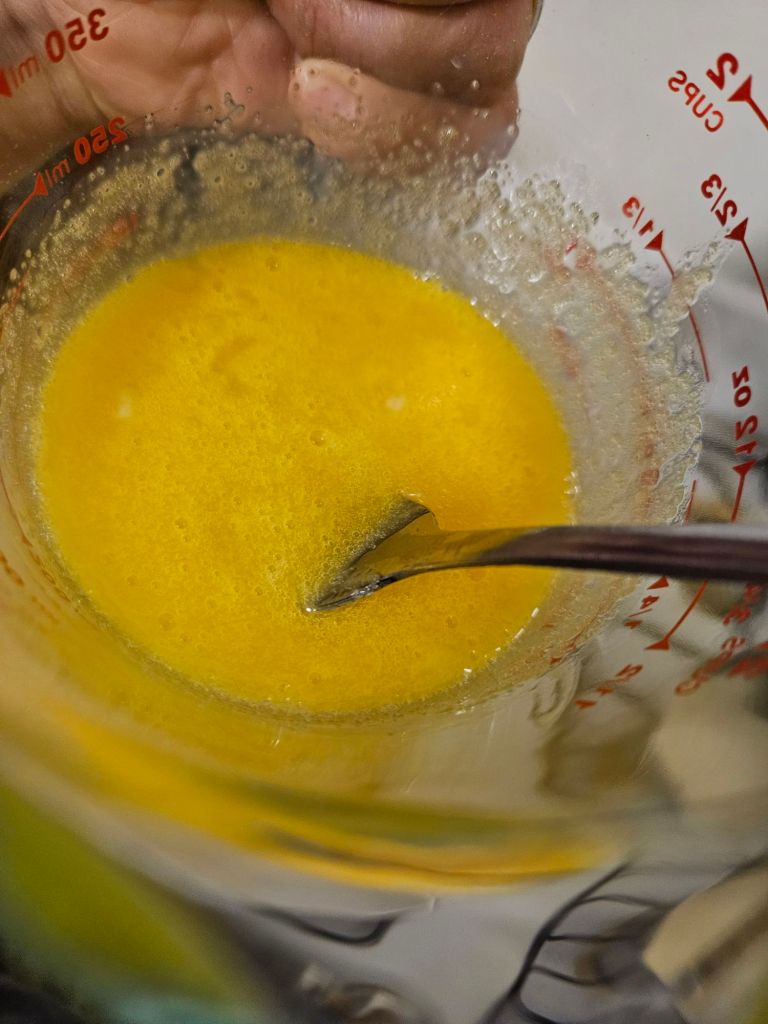
Next, whisk your egg yolks and mix with your sugar and vanilla
This is the desired consistency
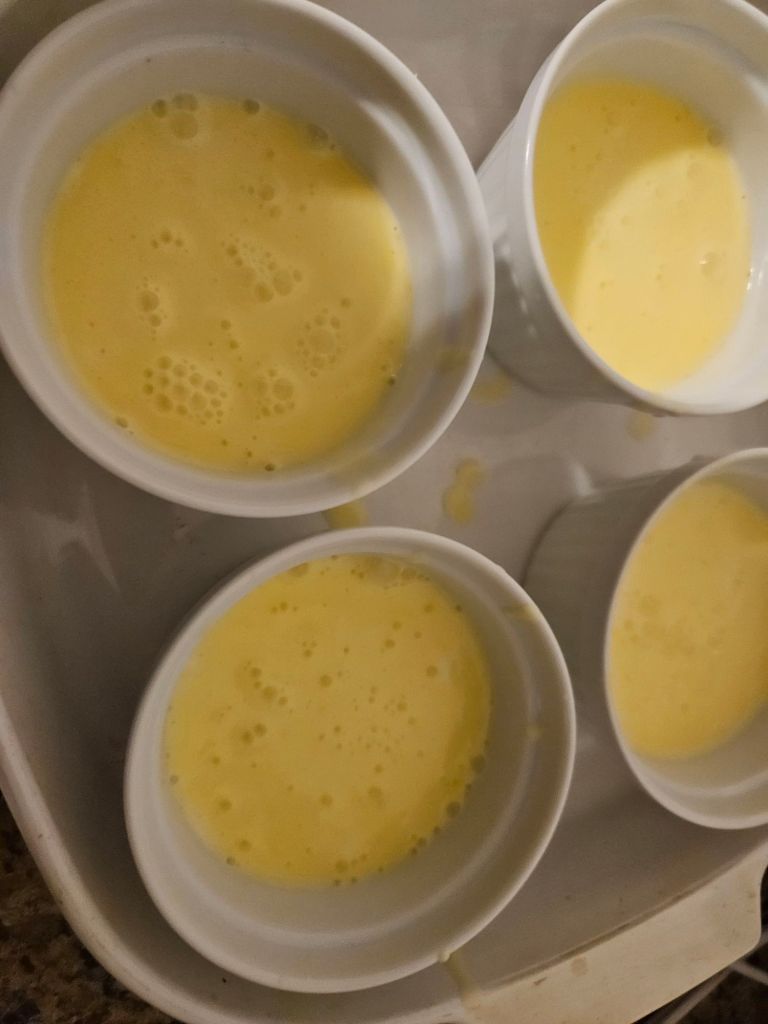
Your next step will be to add the egg mixture to your heated cream while being careful to stir it at a steady pace. Once all the mixture is together, pour it all evenly into your ramekins about 3/4 of the way to the top. Afterward, fill your baking container with hot water until it covers 3/4 of the ramekins from the outside.
Pardon the mess, delicious recipe in progress
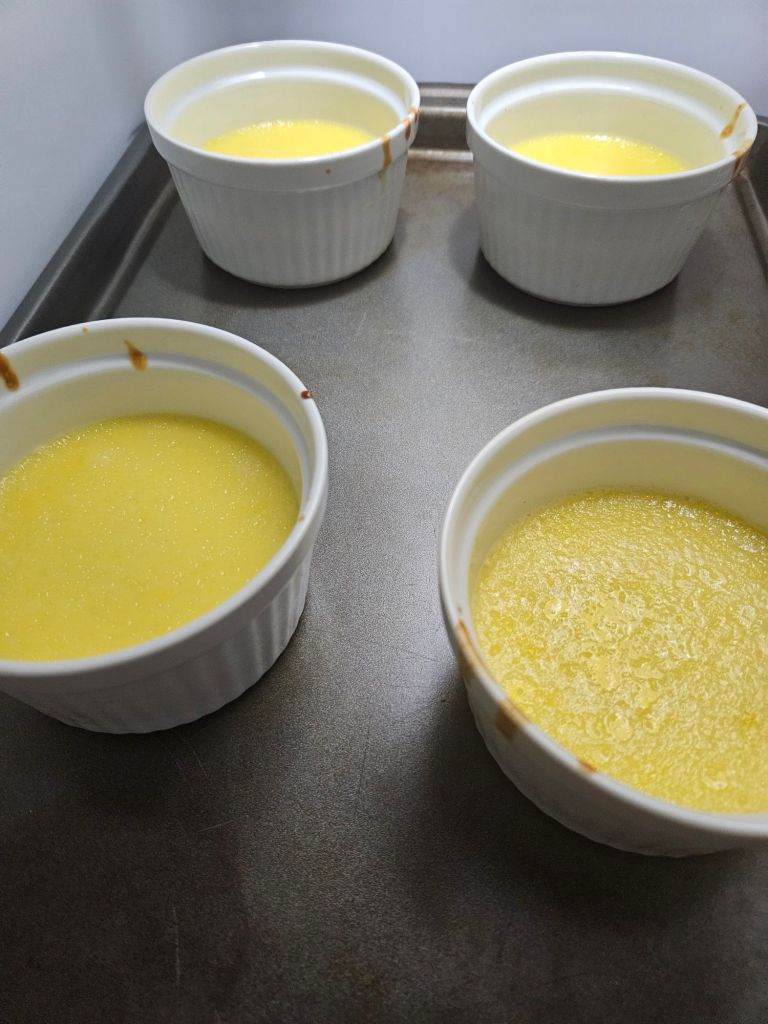
Next, in an oven set to 325 degrees Fahrenheit, place the baking dish into the oven for 45 minutes or until the substance is set with some jiggle to it.
Nice and spongy looking
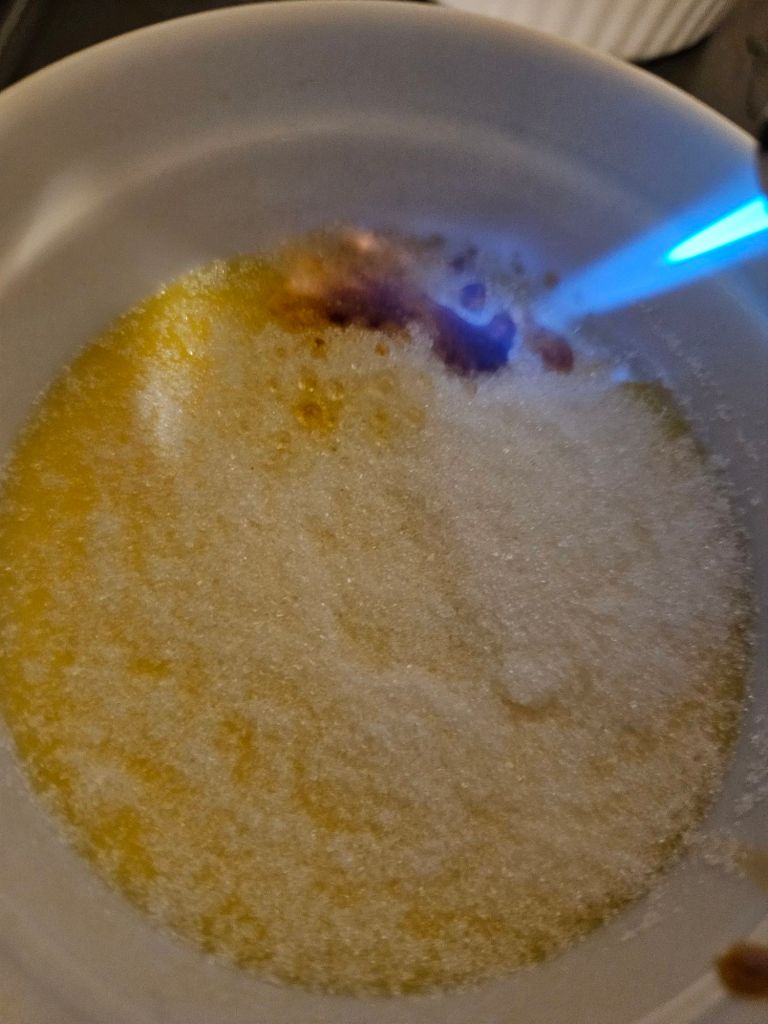
Once the custard has reached room temperature. Refrigerate for about 2 hours. Once chilled, remove the custard from the fridge and apply an even layer of sugar to all the ramekins on top of the custard. Once coated with the sugar, torch the tops of the custard with a butane torch/cooking torch until the sugar has been rendered carmalized
It looked a little cold so I had the turn the heat up
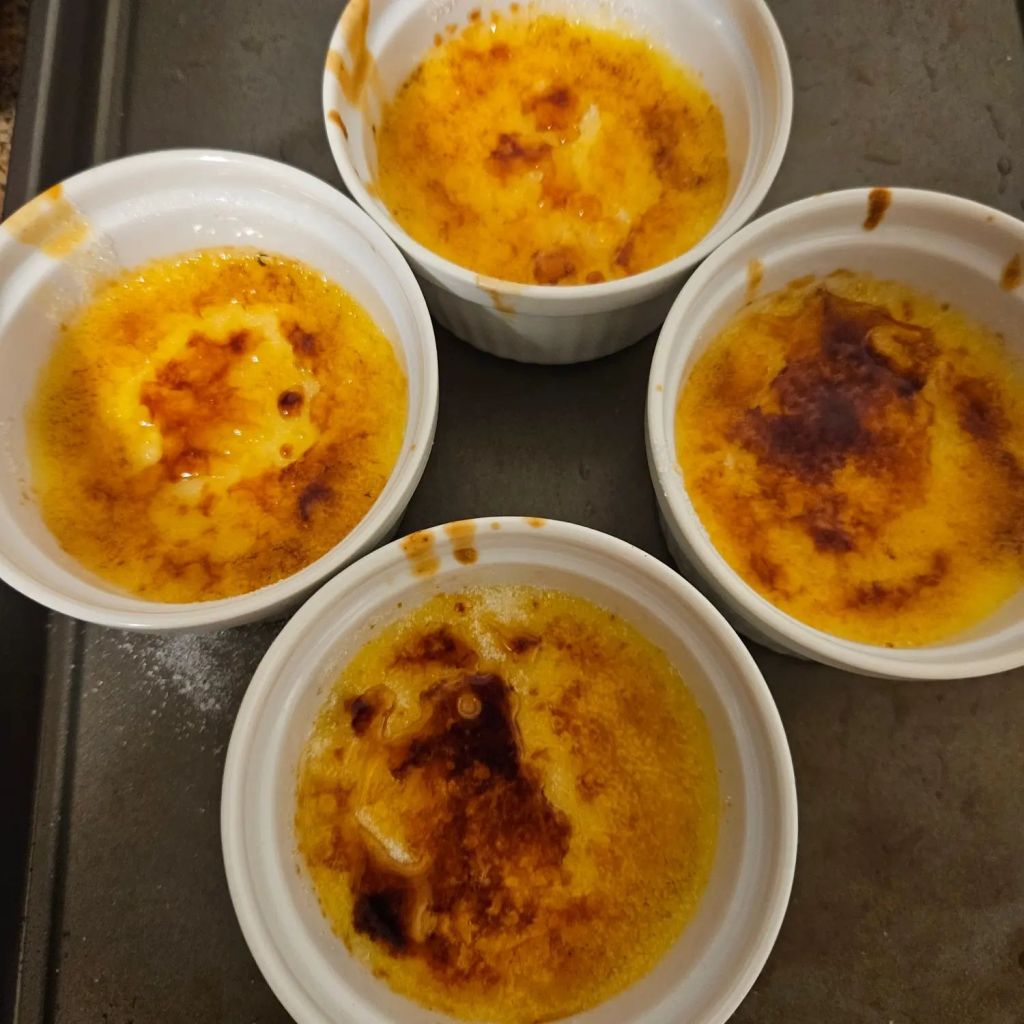
Once caramelized, it is ready to serve. Amy leftovers can be stored for up to 3 days maximum. And there you have it, a lovely french dessert you can enjoy anytime! Until the next time, dear readers, excelsior!